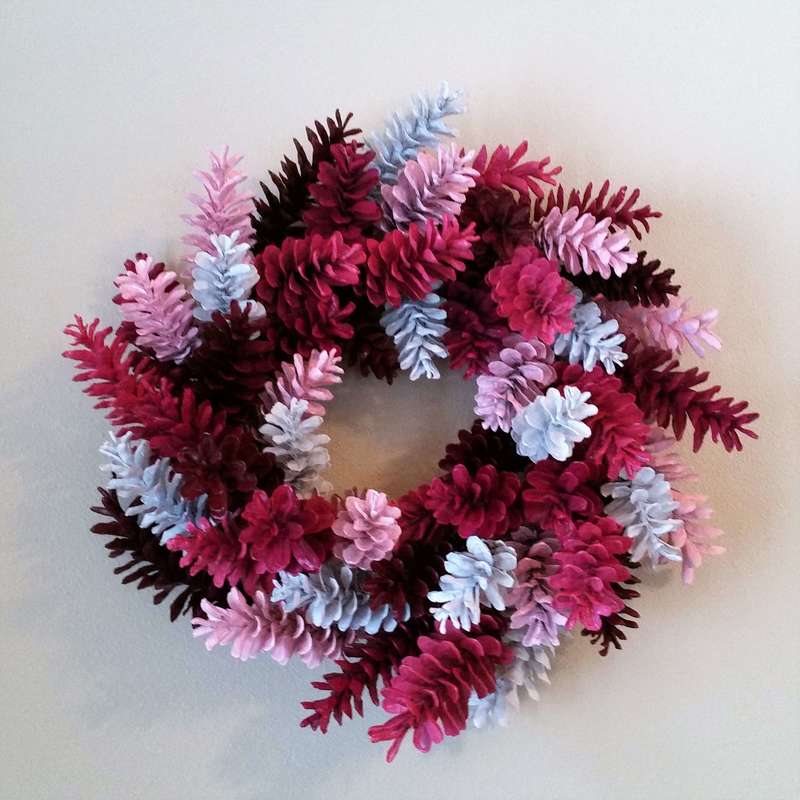
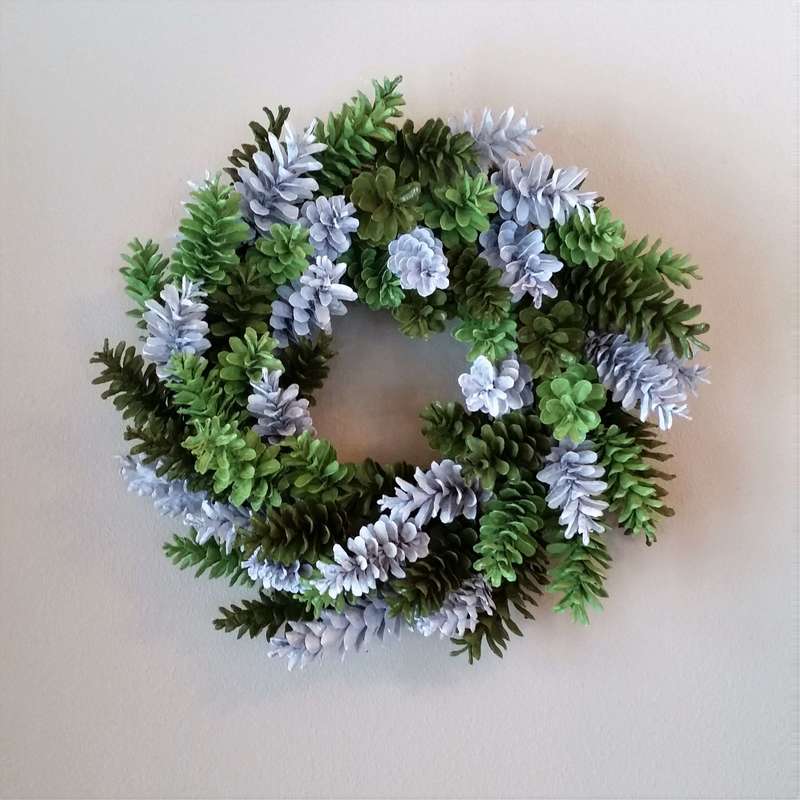
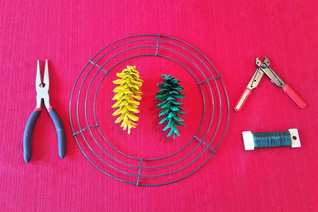
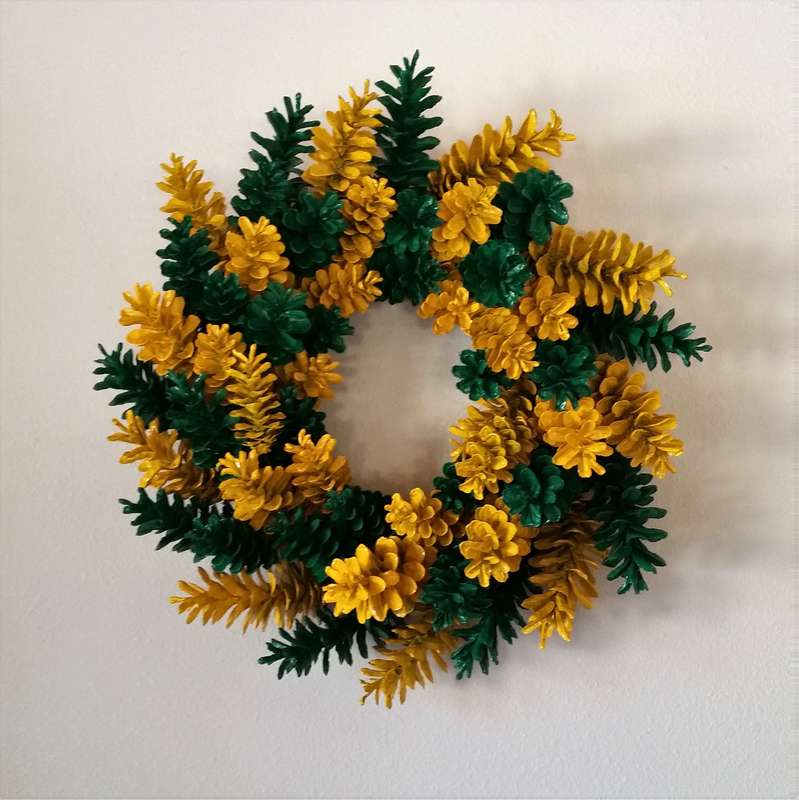
How to Make a Pinecone WreathToday I am going to walk you through the steps of how to make a pinecone wreath. The wreath depicted (see pictures below) is sports-themed for a Green Bay Packer fan (not my favorite color scheme but I am a Wisconsinite now)! This post is for all the "crafty" people out there, those on a budget, or those who prefer the DIY approach. I have put together a short tutorial with pictures on how to make your own pine cone wreath. If you are going to treat the pine cones in any way (i.e. with spray paint or bleach) this requires a much bigger time commitment, as much as one week to make a single wreath, however doing it yourself will save you a significant amount of money. First, you will need a wire wreath frame and floral wire, which is the green wire available in most craft, big box stores, and online retailers. I like the 26 gauge wire because it is easier on my fingers to twist, but 22 guage is also good if you want a stiffer wire. Some people hot glue the cones to a foam frame but I highly recommend individually wiring the pine cones to a metal frame. These wreaths are very delicate but at least by wiring them, you do not need to worry about them falling off! You will also need wire cutters and I have found needle nose pliers come in handy when adding the last group of pine cones to grab the wires and pull them toward the back of the frame. Last, you will need pine cones and lots of them! I have only used the Eastern White Pine cones because I have most of them available, but I also prefer the look of these wreaths. Here is where the creative part of the process comes into play. You can use natural pine cones which you can spray with a matte or glossy acrylic spray if you wish to help protect them. A spray is not necessary but may help protect the wreath for long-term storage or if you plan on displaying the wreath outdoors. Regardless of whether or not you spray the cones, I do recommend displaying the wreath in a sheltered area as wet pine cones will close. A second option is to use bleached pine cones. Bleaching turns the cones into a beautiful driftwood color which I plan to post about in the future so stay tuned! Or the pine cones can be spray painted any color you desire. I use spray paint that specifically states it can be used with wood. I have found that you often get less coverage with lighter colors (not really surprising) but if you like the look of the wood grain of the pine cone coming through the paint these can be beautiful. In general, the glossy colors provide better coverage than the matte/flat or satin/semi-gloss. You will also likely find that your color choices/finish are severely limited by what is available in the store and some brands of spray paint provide better coverage than others. Feel free to experiment with different brands, colors, and finishes to figure out what you like, or message me if you have specific questions.
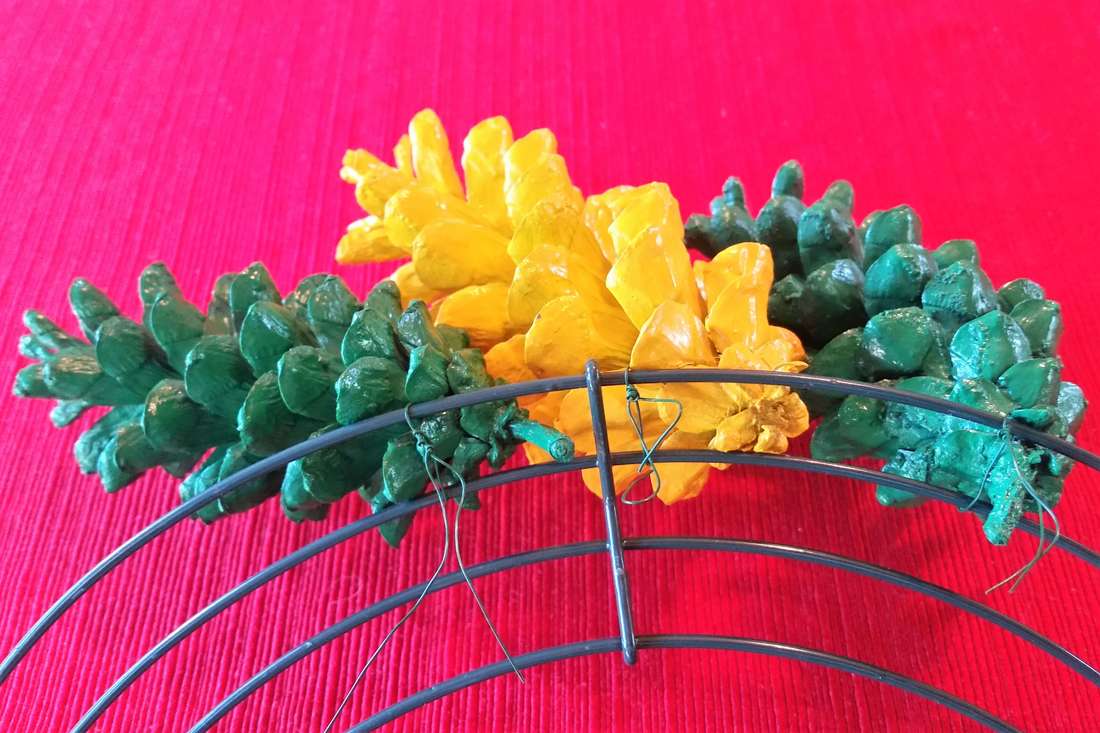
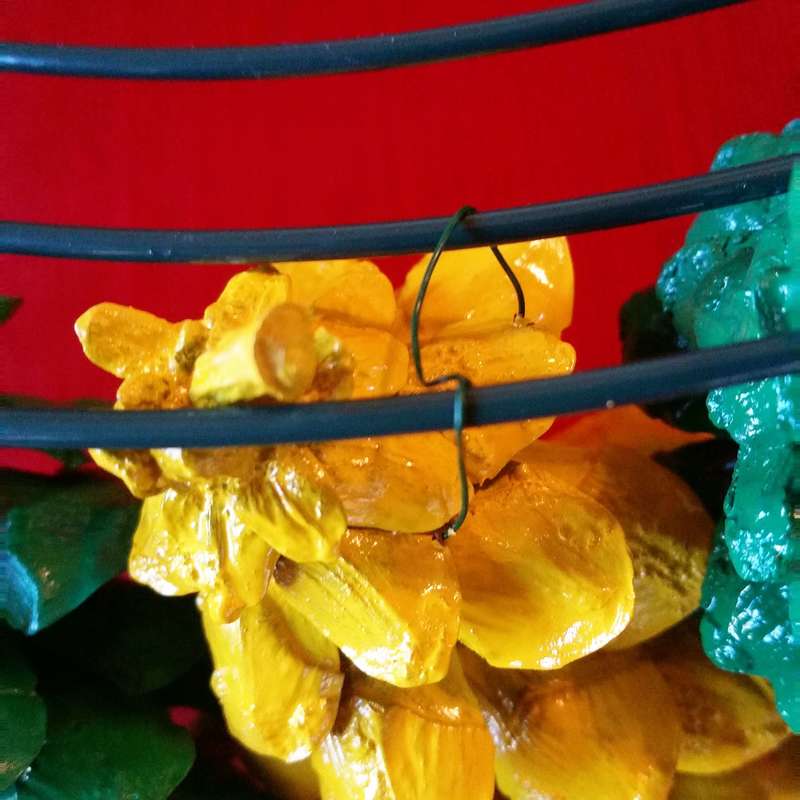
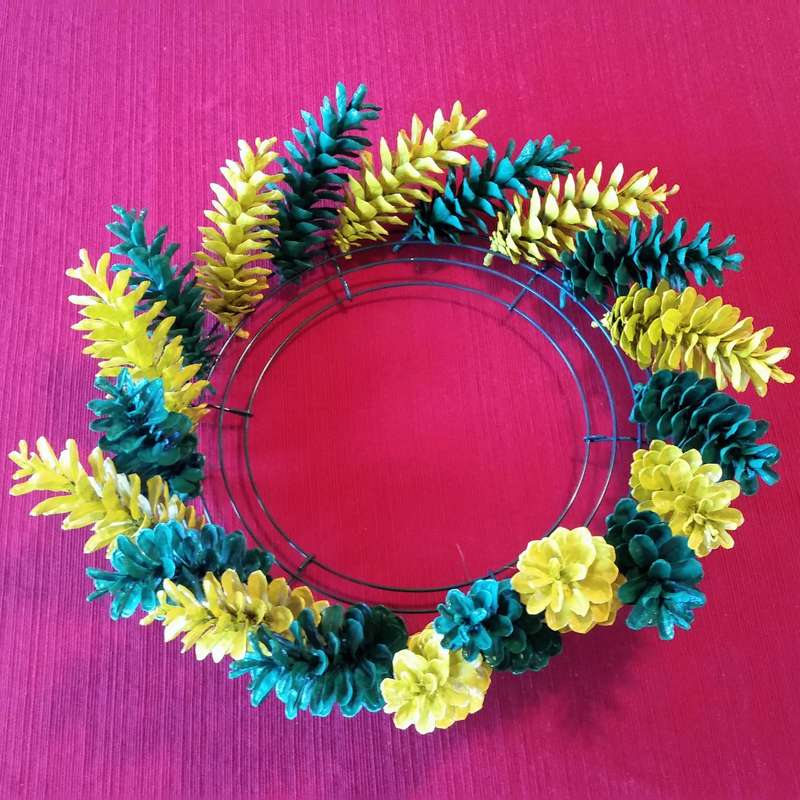
Step 2: Wiring I cut approximately 6-8" pieces of floral wire and wrap it around the top of the cones (go a few scales down from the top) at least twice. Then insert the top of the cone between the outer two wires on the frame with the floral wire sticking out the back. Twist several times to attach the cone to the frame. Repeat this process for the entire outside of the frame. I usually use my largest (~5") pine cones on the outside of the frame and save the smaller ones for the inner rings and to fill holes at the end. For the cones at the end you will need longer wire (~10") to reach all the way through the wreath with enough remaining to grip and twist to secure the pine cone.
Step 4: Complete the Wreath After you trim the excess wires from the first row, move on to the second row, trim the wires from this row, and then wire in the third row. Each row gets subsequently harder to wire because there is less room to fit the cones and your fingers however, with a little patience you will soon have all three rows wired. Next, fill in any gaps with the smallest cones you have on hand. I have found it helpful to hang the wreath on the wall to determine where the gaps are. Sometimes taking a picture of the wreath on the wall is also helpful as it is easier to notice problems with the wreath from a picture than on the table or wall. You may also find it necessary to adjust or even remove certain cones that do not fit quite right. If a cone is sticking out too much you can often wire it to pull it closer to the remaining cones. If this does not work simply remove it and replace it with one that fits better. Once the wreath is complete and you are happy with the end product you can hot glue the wires to keep them from scratching the wall or you can back the wire frame with felt. Regardless, hang the wreath and enjoy!
9 Comments
SHARON GLEESON
11/1/2018 08:16:40 am
so pretty!!!!!!,i really want to make one.
Marisa
12/2/2023 11:55:30 am
Thanks Sharon! 9/17/2021 07:36:11 pm
Thank you for your detailed instructions - I had no idea where to start. If I was to do a totally natural wreath, is there anything special I need to do to the cones before using (i.e. baking, sealing, etc.)? I am so tempted by the colors, but want to start with something very simple. Thanks again!
Hi Patricia,
Marcella
6/1/2022 02:12:49 pm
Your wreaths are beautiful. Have you ever soaked your pine cones until they close up and then push them between your wires on your wire wreath holder? Once you get as many as you can squeeze in, then let dry and the pine cones will open back up. It is a little faster.
Marisa
12/2/2023 11:55:04 am
Hi Marcella,
OneCent
7/18/2023 04:24:57 am
What gauge florist wire do you use?
Marisa
12/2/2023 11:50:59 am
Hi! I generally use 26 or 22-gauge. Leave a Reply. |
AuthorIn 2016, my family and I moved from the New York City area to small town Wisconsin. Our move, this website and blog (and our previous Etsy store) is the result of our desire over the past several years to simplify our lives, increase our quality of life, reconnect with nature, and enjoy a more self-sufficient life. I grew up as a country kid in central Pennsylvania working on my grandfather's fruit farm and as a corn "de-tassler" at a local seed farm. My background is in biology where my love of nature originated. I am a former research scientist and professor and have now transitioned to a part-time stay-at-home mom, self-employed tutor, and small business owner. Thank you for taking the time to check out my site. Archives
July 2024
Categories
All
|


 RSS Feed