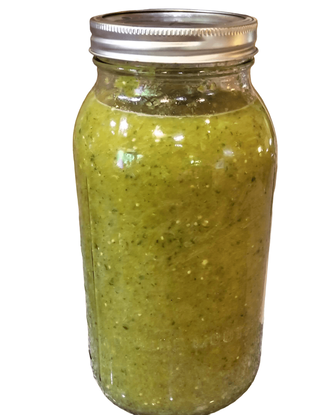
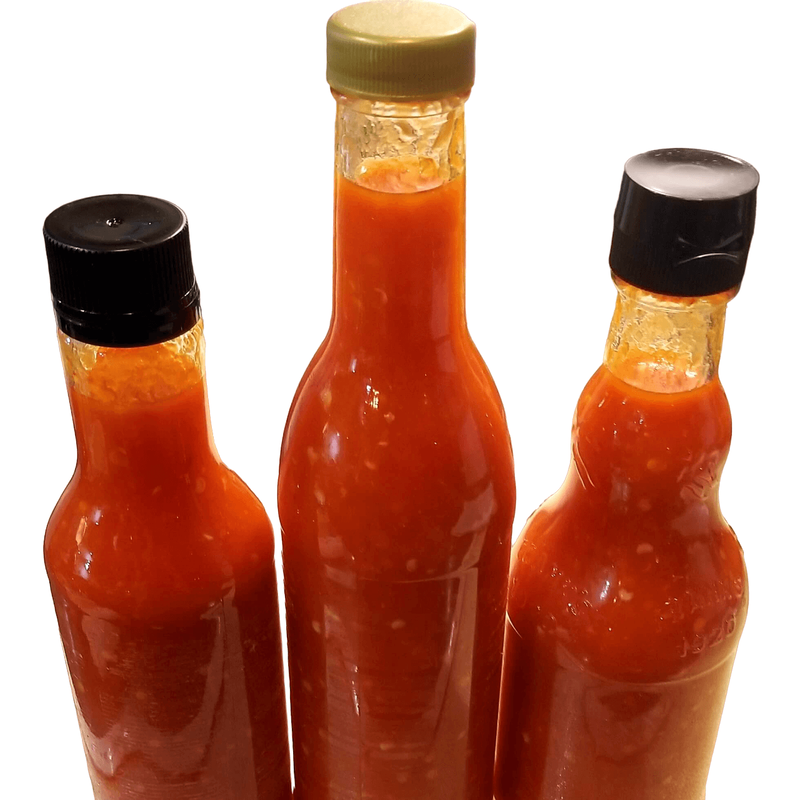
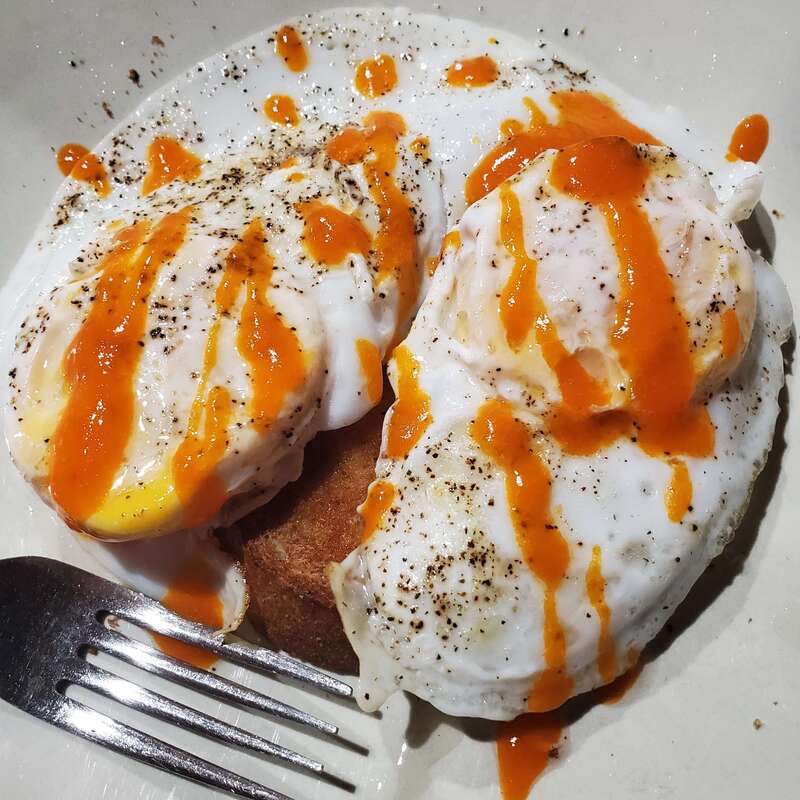
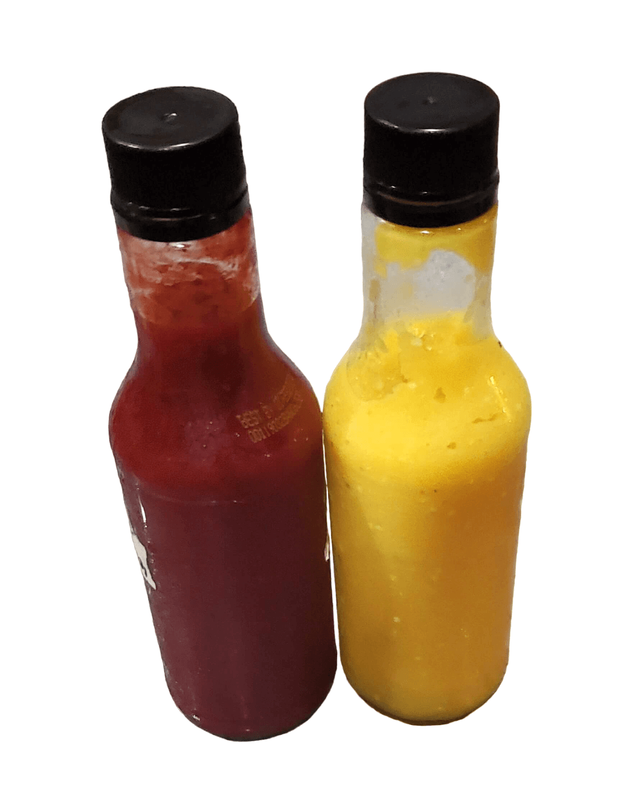
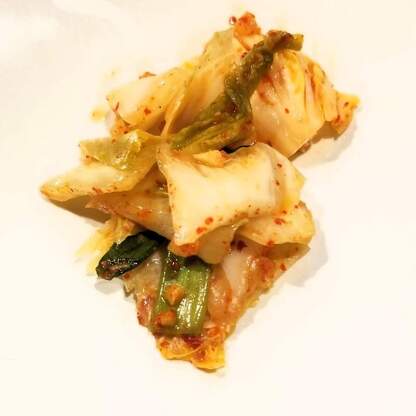
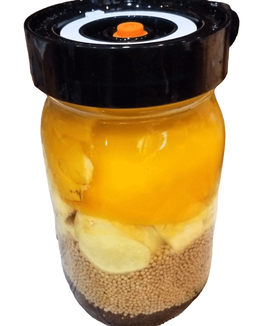
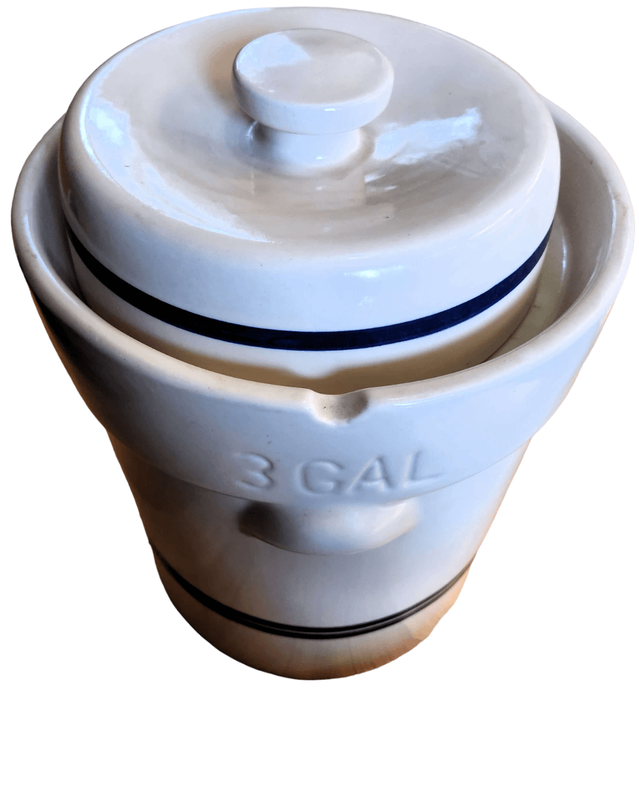
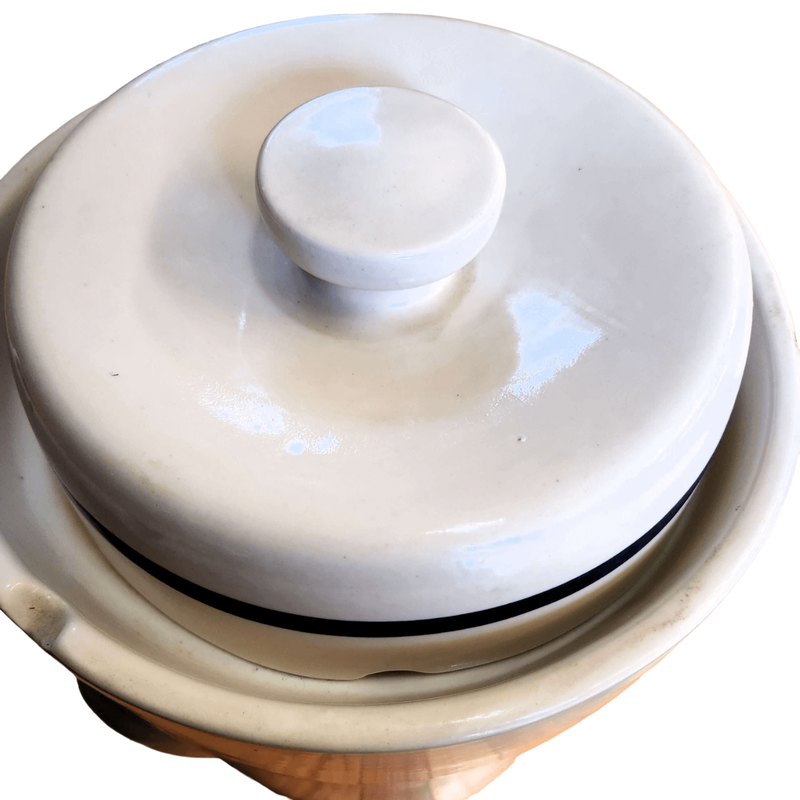
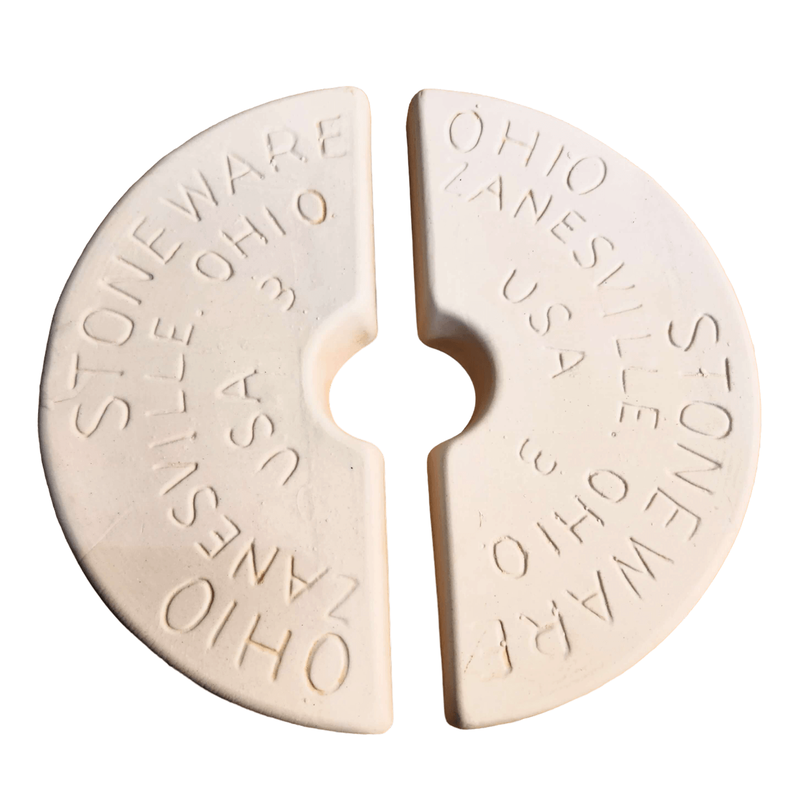
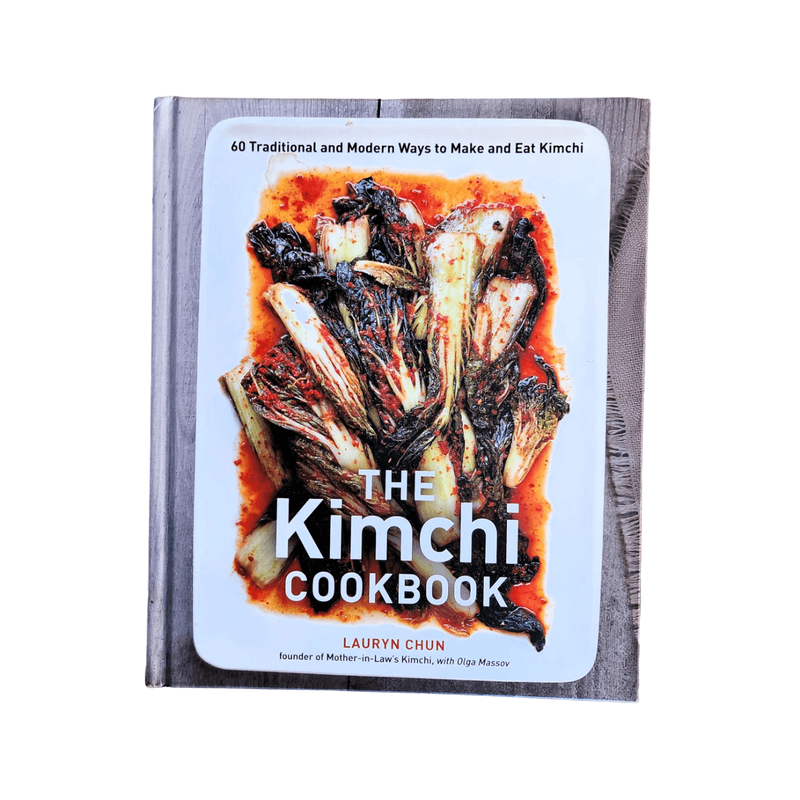
Lactic Acid FermentationWhat is Fermentation?Fermentation is the anaerobic (without oxygen) breakdown of substances such as sugars and carbohydrates into other substances often acid or alcohol via microorganisms such as bacteria and yeast (1, 2). Microorganisms ferment to make energy, while acid, carbon dioxide, and ethanol (alcohol) are side products that we utilize (1). For food purposes, two different types of fermentation are most often used: ethanol and lactic acid fermentation (also known as lacto-fermentation). Yeast, specifically certain wine and beer strains or bread strains of Saccharomyces cerevisiae, which you can purchase, is generally used to make alcohol or bread, respectively (1). Carbon dioxide is released which is what causes bread to rise or it is off-gassed in the case of ethanol fermentation (1). In contrast, wild lactic acid bacteria, particularly certain strains of Lactobacillus, Leuconostoc, and Streptococcus, generally perform lacto-fermentation, although other bacteria may also play a role (1). Lacto-fermentation is used to make many common food products such as sauerkraut, kimchi, pickles, hot sauces, cheese, yogurt, and more (1, 2). A third type of fermentation sometimes performed at home uses acetic acid bacteria which are used to make vinegar and kombucha (2). Various fermented hot sauces and one of my favorite ways to use hot sauce, over eggs! Why Ferment?Fermentation is a form of food preservation. Before refrigeration, freezers, and safe canning equipment existed, fermentation was used to preserve the harvest and make food safer to store. Fermentation can also make food more nutritious and more digestible (2). Most cultures have food preservation techniques based on lacto-fermentation, ethanol fermentation, or both. I ferment not only to preserve the produce I grow but also because I like the taste. Fermented hot sauces and pickles taste different than a typical vinegar-based hot sauce or pickle. I am also prone to acid reflux and find that fermented foods are easier on my stomach than the typical vinegar-type pickle (although I love vinegar as well!). How to FermentFermentation is a very safe method of food preservation assuming you start with enough salt. A good rule of thumb is to use at a minimum 2% salt, although some vegetables require more. For example, cucumbers consist of a lot of water therefore, up to 5% salt is better to prevent mold formation. For a good chart on how much salt to use and more information on how to make up the salt solution, I like this website. Because fermentation is one of the safest ways to preserve food, I am often willing to follow random internet recipes for fermentation (unlike canning where I only follow safe, tested recipes) because generally if a fermentation goes bad, you know. Just double-check how much salt to add to that vegetable for any fermentation recipe. If your fermentation turns slimy or moldy (anything fuzzy), throw it out! What is commonly called Kahm yeast (a white coating on top of the ferment that is not fuzzy) is safe to eat but can give the food an off flavor. The key to successful fermentation is to keep everything below the brine and eliminate as much oxygen as possible at the top of the ferment. Anaerobic lactic acid bacteria grow without the presence of oxygen however mold contamination always occurs at the top of the ferment as it requires oxygen to grow. Once the fermentation gets started enough carbon dioxide is produced to push out excess oxygen and the risk of mold contamination is reduced. To keep oxygen from re-entering ferments I like wide-mouth mason jars (quart or half-gallon sizes are great), with glass weights to hold everything below the liquid brine and a lid to keep the air out. I often use the Easy Fermenter Lids or simple airlocks used for alcohol fermentation as they self-burp, so you do not need to keep opening the lids. If you use an actual lid you will need to release the gas produced often enough to keep the jar from exploding but you also run the risk of incorporating oxygen into the top of your ferment every time you crack the lid which can allow mold to grow. For larger ferments, you will likely want a fermentation crock. I like the water seal fermentation crocks with a lid in a moat at the top that holds water, forming an airlock. A small hole in the lid allows the gas to escape but the hole is covered by water to keep oxygen from entering the crock. A 3 gallon water sealed fermentation crock from Ohio Stoneware. The top moat is filled with water and the hole in the lid that allows gas to escape is visible in the second picture. Most fermentation crocks also come with stone weights to hold the vegetables below the brine. For a basic fermentation, you make up your salt solution (some things like sauerkraut are traditionally brined dry, meaning you add salt directly to the vegetables and the salt pulls liquid out) and pour it over your prepped vegetables. Make sure all the vegetables are covered, add your weight to keep the vegetables submerged, and attach the lid. Most ferments such as hot sauce go at least 30 days but commercially made Tabasco is generally aged 3 years, sauerkraut generally takes 6-8 weeks, and cucumbers are usually much shorter, 5-7 days although you can go longer if you want a sourer pickle. I tend to do shorter cucumber ferments to reduce the risk of mold formation and because I like crunchier pickles. In general, the longer the ferment the softer the vegetable will become. ResourcesFor sauerkraut and cucumber-fermented pickles, I follow Ball (one of the safe canning resources) recipes. Their online website only has a fermented tomato salsa recipe, but other fermentation recipes such as sauerkraut, pickles, hot sauces, and Worcestershire sauce are available in several of their books. See my Canning post for more information on the Ball books that are currently available. Pickles are more likely to mold in my experience, so I like the Ball recipe because it uses a little vinegar at the beginning of the ferment to help reduce the risk of contamination before the fermentation gets started. However, there isn’t enough vinegar added to inhibit fermentation. For fermentation resources other than Ball, I like the Insane in the Brine website, particularly for his hot sauce recipes. The author has also written a couple of books, which feature even more of his recipes than are available online. Other books I recommend include “The Noma Guide to Fermentation” by Rene Redzepi and David Zilber, “The Art of Fermentation” and “Wild Fermentation” by Sandor Ellix Katz, “Fermented Vegetables” and “Fiery Ferments” by Kirsten and Christopher Shockey, and “The Kimchi Cookbook” by Lauryn Chun. References
0 Comments
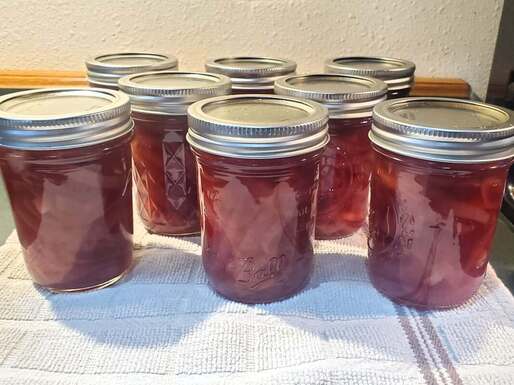
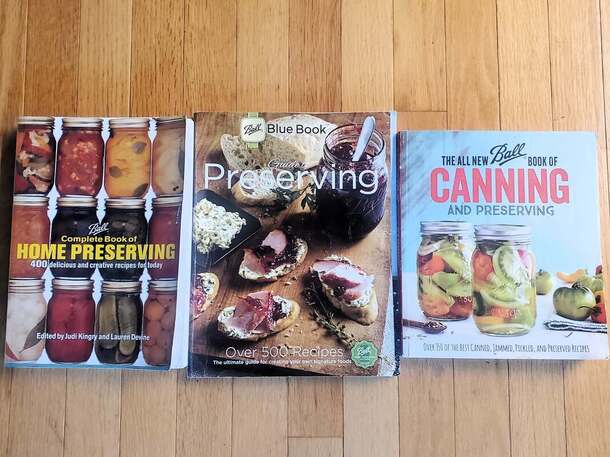
Safe Home CanningThere are many canning resources available online and in print, however, most of them are unfortunately not safe. Many people do not care about canning safely (i.e., canning rebels) and claim “their kitchen, their rules,” however, I would not want to eat their canning or even their cooking. This blog post is for those who do want to can safely and not worry about making someone sick or even killing them. If you disagree with safe canning practices, please do not comment as I will remove all unsafe canning advice, but I am happy to answer any legitimate questions. Although I have a bachelor’s degree in microbiology, I am not a food scientist, therefore, I encourage anyone learning to read over some of the safe canning resources given below. Two safe canning resources in North America that test their recipes are Ball (Bernadin in Canada) and NCHFP (National Center for Home Food Preservation, associated with the University of Georgia). Most university extension sites are also safe, but if there is a discrepancy between extension sites or even Ball, go with NCHFP to be safe. I also like a canning blog that only publishes safe recipes from Ball/Bernadin or NCHFP, called Healthy Canning. There are great articles on the Healthy Canning site that explain why certain practices or substitutions to recipes are or are not safe. Also, there is a safe canning group on Facebook, called “Canning” and one of the admins (Ann Crum) also has a YouTube channel called Ann's Mini Homestead, the only one I am aware of that promotes safe canning techniques. In general, avoid any other website, blog, Facebook page, or YouTube channel as it is likely unsafe. For printed canning resources in addition to Ball/NCHFP website recipes, there are several Ball books available (safe if from 2005 and later), and you can purchase the NCHFP book from the University of Georgia extension site but all the recipes are also available on their website and can be printed out from there. Most other books available to purchase contain at least some unsafe information. The Ball Blue Book is the basic book that most people start with and includes fermentation recipes for sauerkraut and cucumber pickles in addition to basic water bath and pressure canning recipes. The All New Ball Book includes some updated recipes, including meal-in-a-jar type ones as well as more fermentation recipes. However, that book did receive some criticism for containing a few errors (actually all of them do, most of which have been fixed with subsequent printings) so I looked up the errors on the Healthy Canning website and made the changes directly in the books. The last Ball book is the Ball Complete Book of Home Preserving, which has the most recipes of all the Ball books and is a good addition to your canning library. Water Bath or Steam CanningFor pickling you have two choices, either canning to preserve it long-term or fridge pickles, which generally last 3-6 months. I follow a Ball or NCHFP recipe if I am planning on canning it to make sure I include the correct amount of acid. If I just want to make a small amount of fridge pickles, usually cucumbers or hot peppers, I will follow either Ball/NCHFP or any recipe I like since it will be stored in the fridge and the total acidity is not as important. For water bath canning I MUCH prefer a steam canner over the traditional water bath where the water needs to be an inch or two over the top of the jar as it is much faster since you only need to boil 3 quarts of water instead of a whole pot. The only downside is that it is only recommended for recipes that have 45 minutes or less processing time. This generally isn't a problem for those living under 1000 feet but can come into play if you live at a higher elevation. Two key things with water bath/steam canning are that you need to increase processing times for increasing elevation (see chart) and you need to properly acidify your product if it is not naturally acidic enough to keep the botulism-causing bacteria from growing. Most fruits are acidic enough (exceptions are white peaches, mulberries, and elderberries so these either cannot be canned or are canned with very specific recipes) but tomatoes always need extra acid added to each jar. All tomato varieties are borderline acidic, heirlooms are not more acidic than current varieties, and "low acid" tomatoes have similar levels of acid as any other tomato, they just have more sugar which masks the acidic taste (1). Pressure CanningFor pressure canning, there are two common stove-top canners (use a canner, not a cooker!): Presto and All-American. If you have a glass top stove check with the manufacturer or manual to make sure it can support the weight of a full canner. To be safe a pressure canner needs to be at least 16-quart capacity (15.5 for the smallest All-American), which is the volume of the pot, not the jars, and you need a minimum of 2-quart jars per canner load (or the equivalent, so 4 pints, 8 half pints, etc., and you can add a quart jar of water for small loads, to take up space). There is currently no electric pressure canner that is considered safe (not even the Instant Pots which have a canning function). Presto has recently released a new electric canner, but it has yet to be tested by an independent source (Oregon State Extension is currently working on testing it) so the best practice is to wait until testing is complete before using them. Additionally, electronic devices can go bad, and it is uncertain if you will be able to have them tested like you can with a dial gauge to make sure they are calibrated properly. Additionally, a stove-top pressure canner with a weight will never give the wrong pressure, so using the weight instead of a gauge is my preferred method. Many people love All-American canners because they are super solid and do not use gaskets, but they are extremely heavy and very expensive. I love my Prestos, I have both sizes and they are much easier to lift, the smaller one heats up and cools down faster, and for the large one, you can double stack pint jars. All-American makes smaller ones but they also make one you can double stack quarts, but it is usually too tall to fit on most stoves if you have a microwave above your stove. The key to pressure canning is you need the correct pressure for your elevation. I use the 15-pound weight because I am over 1000 feet so 10 pounds is not enough. You can go by the gauge (for me it is 11 pounds) but then you need it tested yearly to be sure it is still accurate, so it is just easier to use the weight since it is never wrong. If you live under 1000 feet you can use a 10-pound weight, but you need to buy it separately for Presto since they come standard with a 15 lb. Also, if a recipe has both water bath and pressure canning instructions generally the pressure canning instructions just mimic water bath conditions (they do not come up to high enough pressure/temperature to kill botulism spores) so acidification is still necessary. One additional point is that recipes need to be followed exactly, you cannot simply pressure can anything you want to make it safe. Density, pressure, and total canning time (including the vent time and cool-down time) are also important. References
|
Details
AuthorIn 2016, my family and I moved from the New York City area to small town Wisconsin. Our move, this website and blog (and our previous Etsy store) is the result of our desire over the past several years to simplify our lives, increase our quality of life, reconnect with nature, and enjoy a more self-sufficient life. I grew up as a country kid in central Pennsylvania working on my grandfather's fruit farm and as a corn "de-tassler" at a local seed farm. My background is in biology where my love of nature originated. I am a former research scientist and professor and have now transitioned to a part-time stay-at-home mom, self-employed tutor, and small business owner. Thank you for taking the time to check out my site. Archives
July 2024
Categories
All
|


 RSS Feed