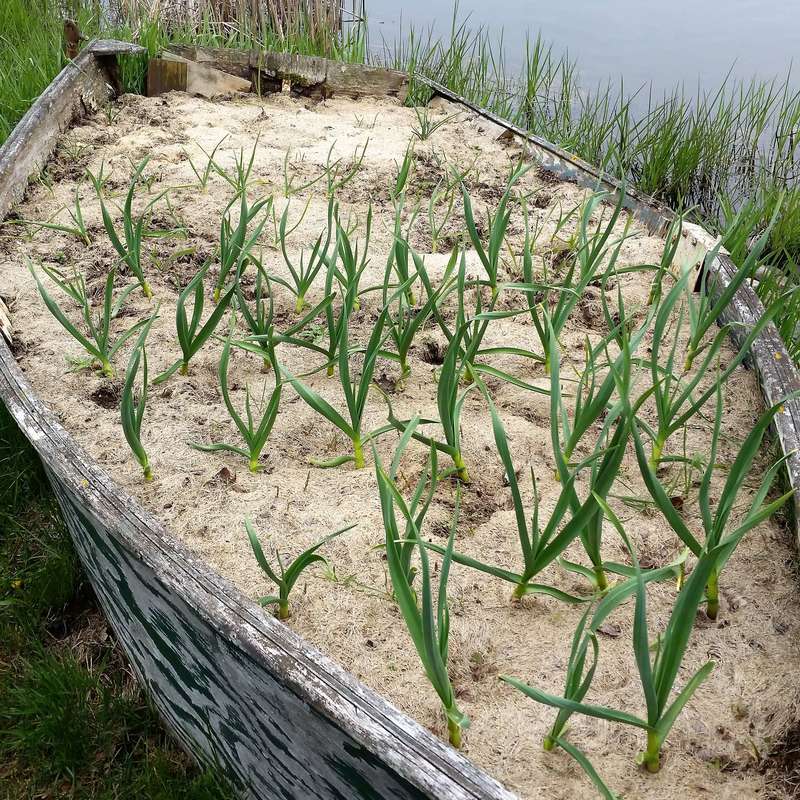
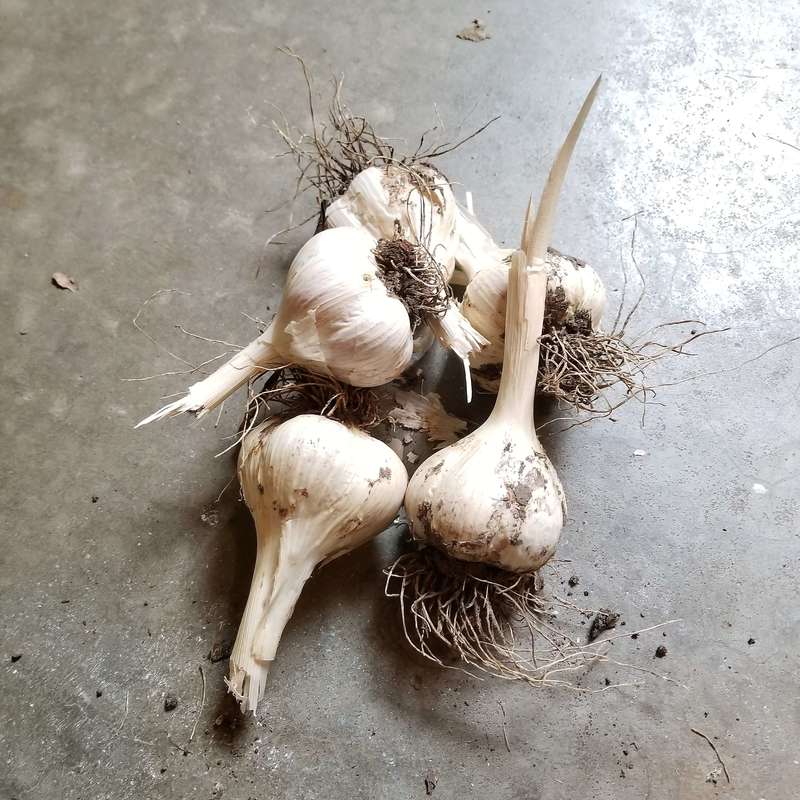
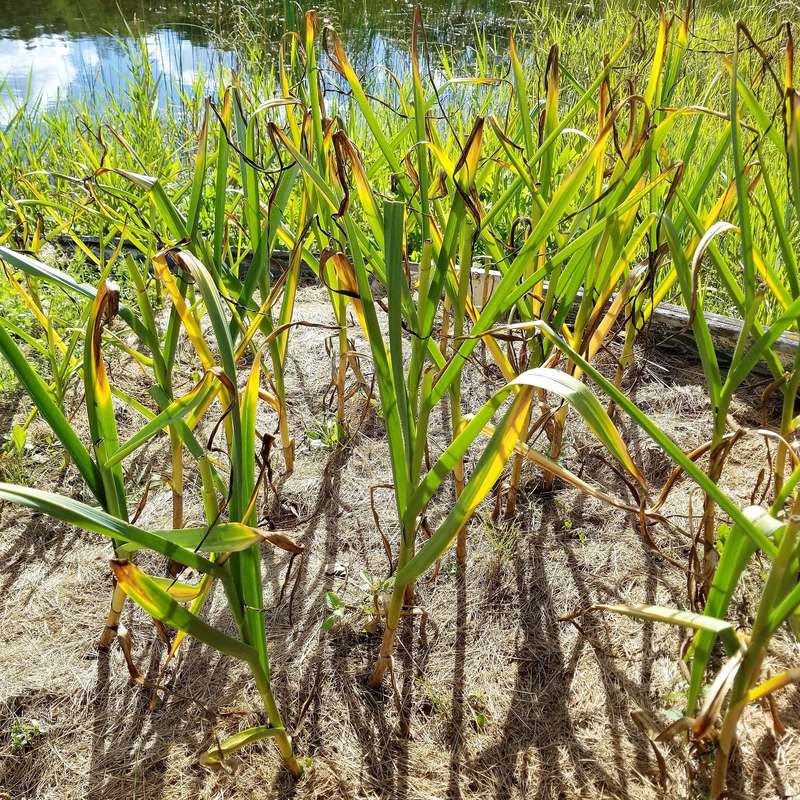
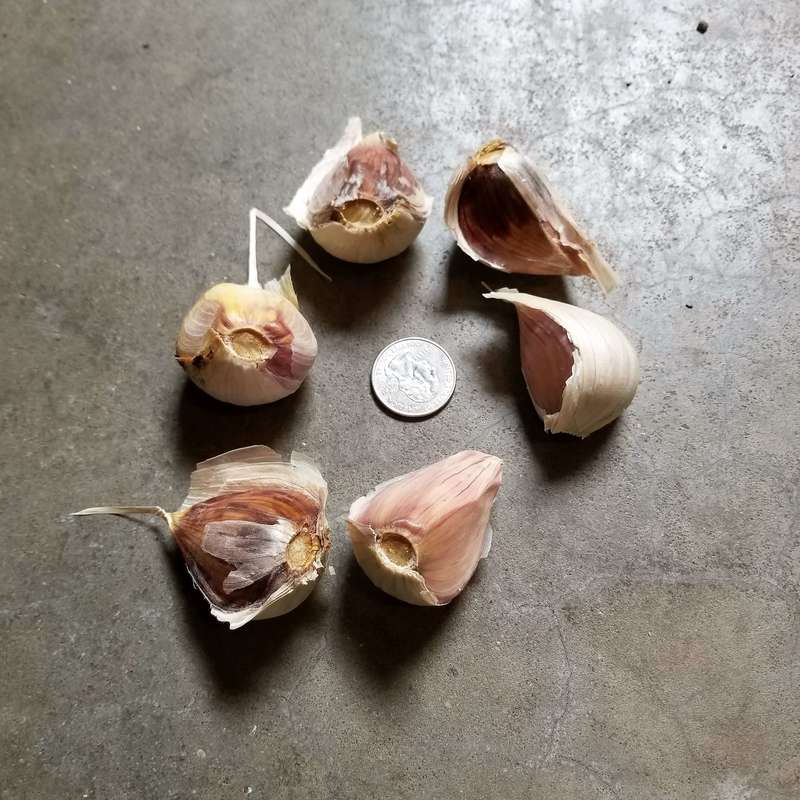
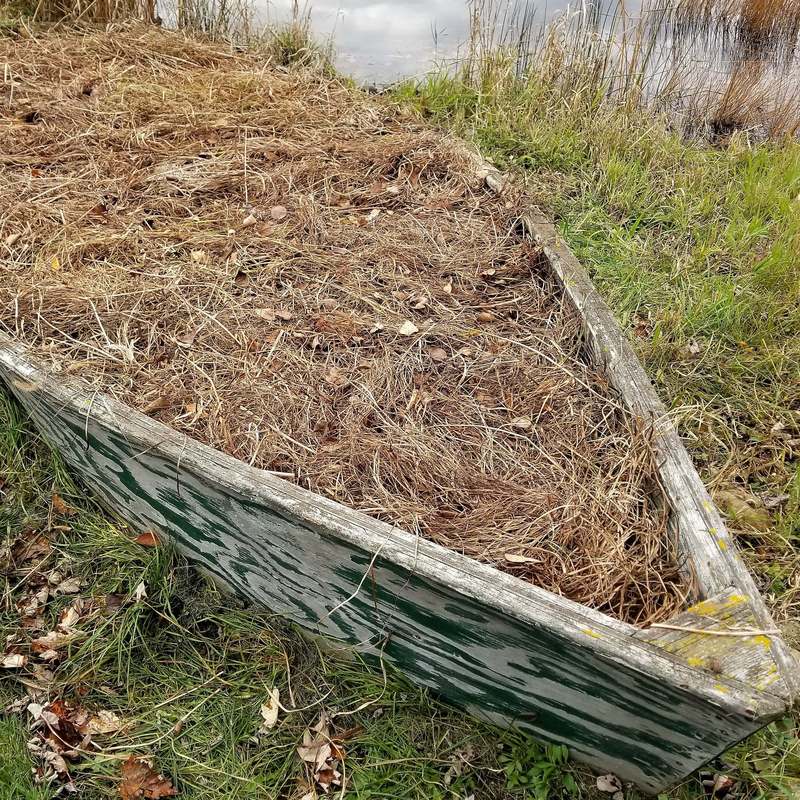
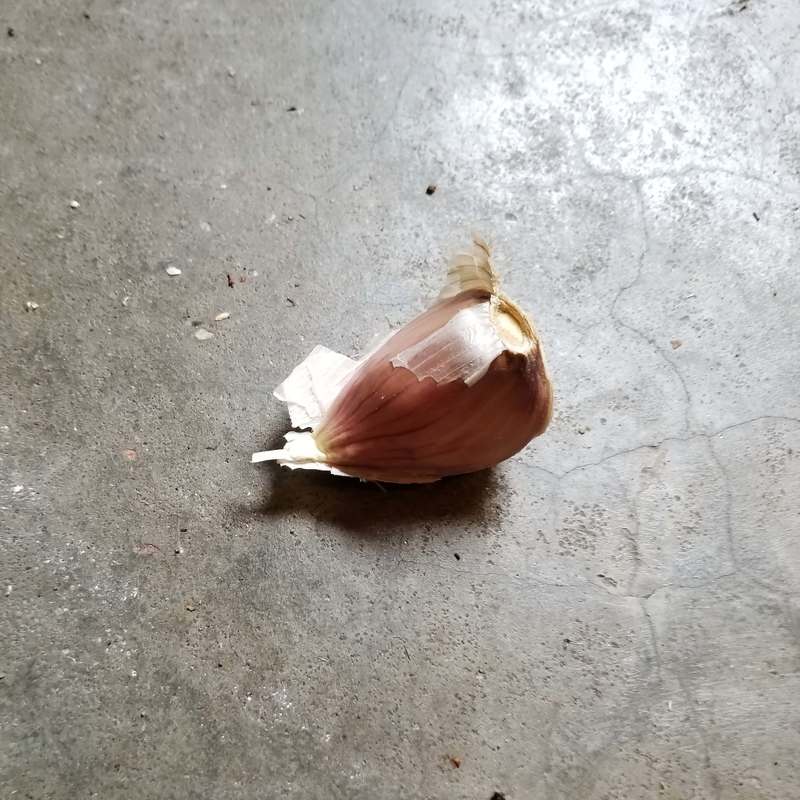
Growing Great GarlicGarlic is one of my favorite plants to grow, mostly because it is very easy to maintain and I love to cook with garlic. Like many bulbs it is best planted in the fall, however you can also plant in the spring, the bulbs just may not grow as big. Growing garlic is easy and requires minimal upkeep. As long as you keep weeds down with mulch you can plant it and forget it. It is also insect-resistant, disease-resistant, and deer-resistant which is a huge plus. Home-grown garlic also tastes much better than store-bought which may be months old. Home-grown bulbs and cloves are often twice the size of those in the stores. Most garlic does keep well however, so there is nothing wrong with storing it in a cool dry place and using it months later. I've even heard of dicing it and freezing it although I have not tried it myself. As an added bonus, if you grow garlic that produces scapes you can harvest the scapes and use them in some great recipes. My favorites are garlic scape soup, scape pesto, and grilled scapes (see below for pictures). You can also use them as a substitute for regular garlic in any recipe. 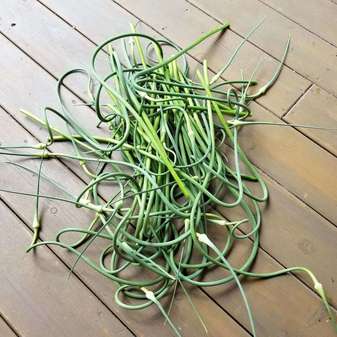 Fresh Cut Garlic ScapesCut scapes when they begin to straighten out. If you wait too long they will become woody. 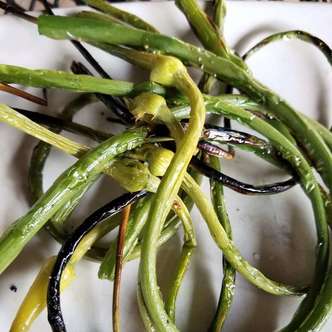 Grilled Garlic ScapesGrilled scapes were, surprisingly, my favorite way to prepare them. We drizzled them with olive oil, added salt and pepper and skewered them on a wooden skewer. Then grill them until they are tender. Delicious! 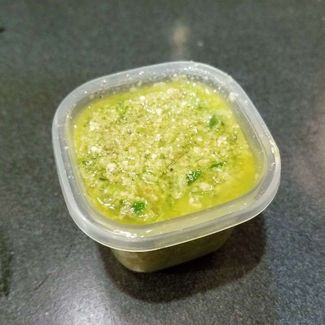 Garlic Scape PestoThe garlic scape pesto is also very good. You make it very similarly to basil pesto. I used walnuts instead of pine nuts. The scapes are milder than the garlic bulbs so I did not find it too garlicky. I have used it on pasta and chicken both straight or half and half with regular basil pesto. Both are delicious! How to Plant GarlicUsually I try to plant my garlic in mid-October. This year I am a few weeks behind due to a couple of unexpected ER visits that eventually resulted in an urgent abdominal surgery. Now that my core muscles can take a little exercise I got my garlic planted ASAP. I hope it's not too late and the cloves can still get established before the ground freezes solid. Last year I planted my garlic in a raised bed with a high-quality soil, compost, and peat moss mix. It was the best garlic I have ever grown! Raised beds allow you to control the quality of your soil and also provide good drainage which was key this spring as we had 6-8" of rain above average over a 3-month period. Our onions that we planted in the ground simply rotted. Another important element is to buy good quality garlic and make sure it is compatible with your growing zone. Some garlic types (soft neck) do better in the south but will not overwinter well where I am in Zone 4. I have had the best luck with the hard neck varieties that overwinter well. You can buy garlic from many seed companies or even your local farmer's market. Step 1: Prepare the SoilThe first step is to prepare the soil for planting. Remove as many weeds as possible and loosen it up well. Step 2: Dig TrenchesDig trenches approximately 2-4 inches deep and about a foot apart. Step 3: Plant the GarlicBreak up your garlic bulbs into individual cloves and plant them root side down about 4-6" apart. 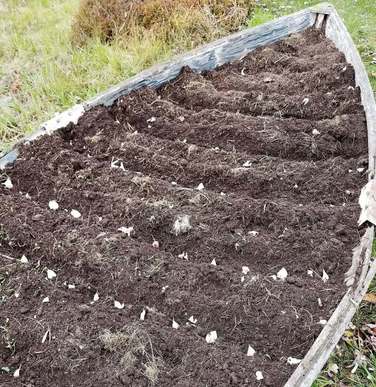 Step 4: Add SoilCover the garlic cloves with 2-4" of loose soil. 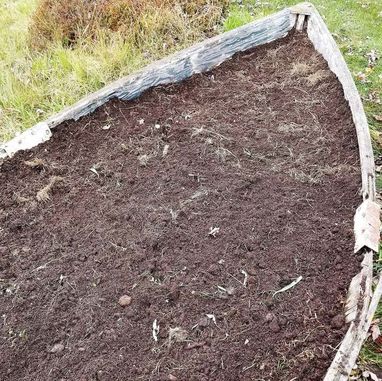 Step 5: MulchIf you live in the North you must cover them with a thick layer of mulch, usually 4-6". This will help the bulbs overwinter and can be removed or moved aside in the spring when the new plants start emerging. Most years I use leaves because they are readily available in the fall. This year I used the dead leaves and stems from our day lilies. I then usually continue to mulch, often with grass clippings, throughout the rest of the season. 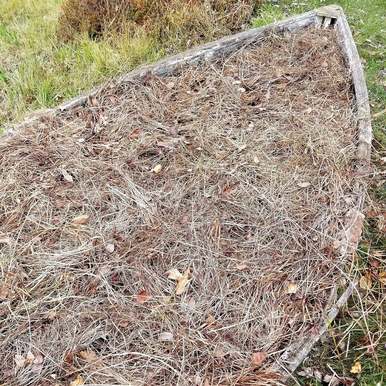 The garlic will start growing in the fall but then go dormant when the ground freezes. It generally will not emerge past the mulch layer. Last year we had an usually warm fall (I mowed the lawn in a T-shirt in November!) so our garlic grew more than normal. However, it still came back great in the spring. Once the new plants emerge in the spring you can move aside the mulch to help them and keep up on any weeding that needs done. If you keep them mulched weeding should be minimal. The next step is to keep an eye on the scapes. You have the option of allowing them to grow and leaving them on the plant. Some people promote removing the scapes when they start to uncurl so the plant puts more of its growth and energy into the bulbs. Cutting them may or may not make a difference but I prefer to cut them off just because I like to eat the scapes! You want to cut them when they are just starting to uncurl. If you wait too long the stems will start to get woody. After you cut the scapes the garlic usually grows for a few more weeks. I pick the garlic when the plants start to die off, usually around mid-July for our zone. I knock off excess dirt and let the entire plant dry in a cool, dry place, usually my garage. Once the entire plant is dried you can cut off the stem and knock off any more dirt. I separate out the biggest bulbs to save and re-plant and start eating the smaller bulbs. Different varieties store better than others but most will last for several months if stored in a dry place. Supposedly the soft-neck varieties store better than the hard-neck. Overall garlic is easy to grow and tastes great! I love roasting an entire bulb, spreading it on fresh-baked bread, and enjoying it with a nice glass of wine. Feel free to comment or message me with any questions!
0 Comments
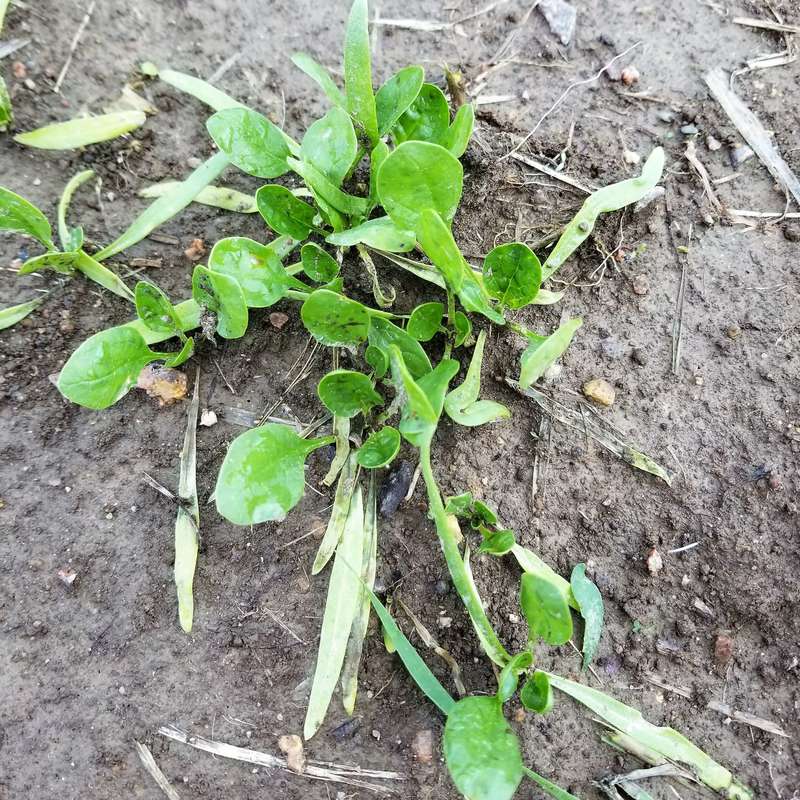
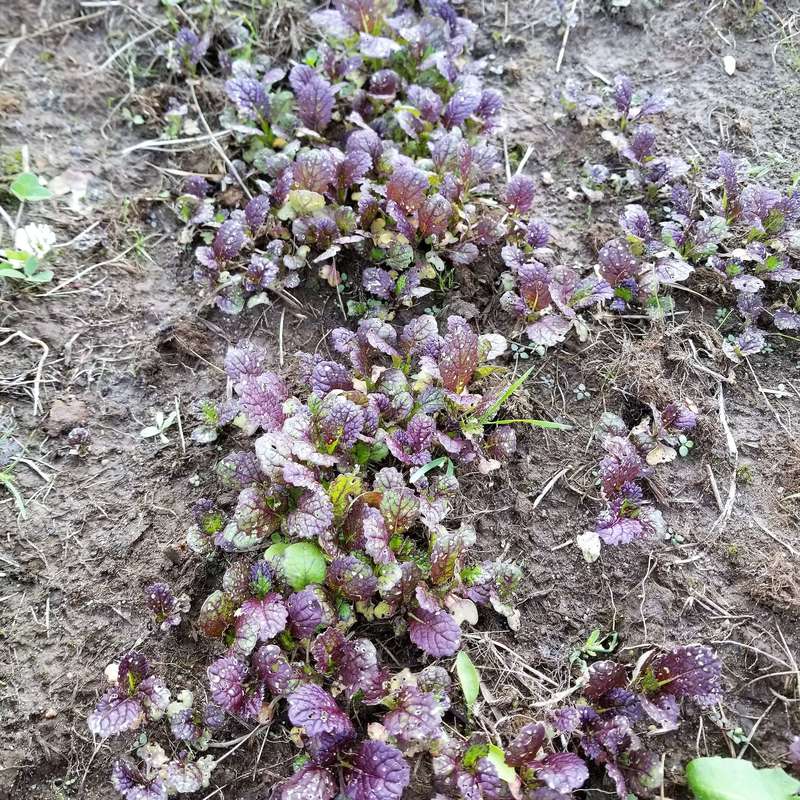
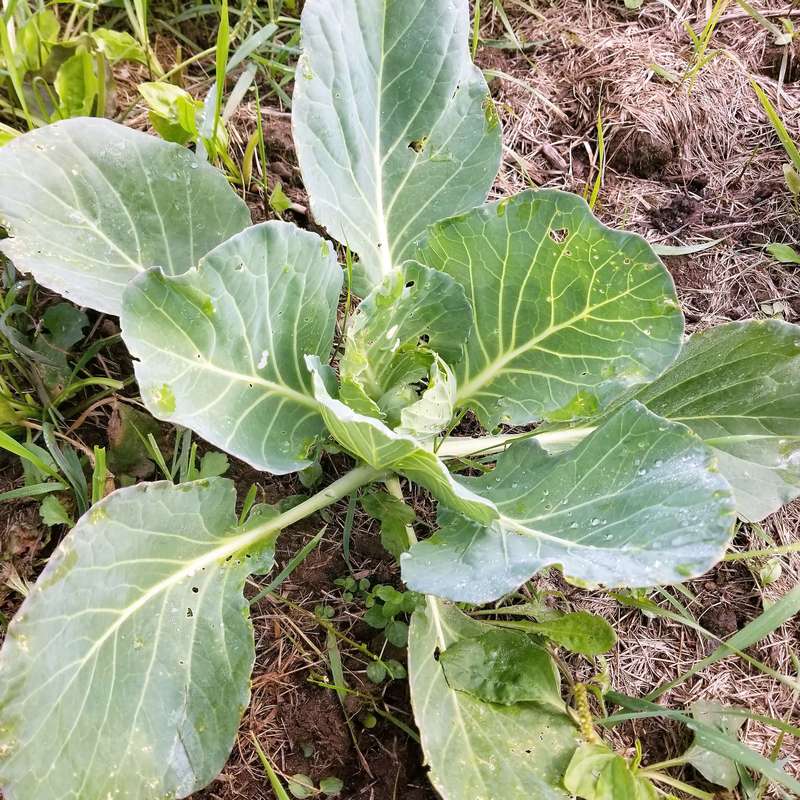
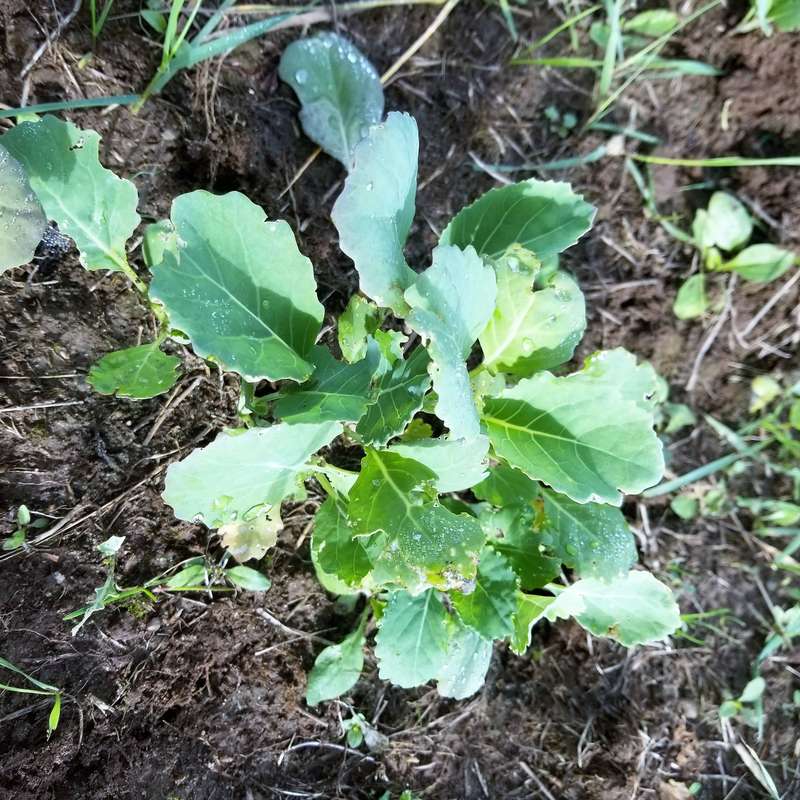
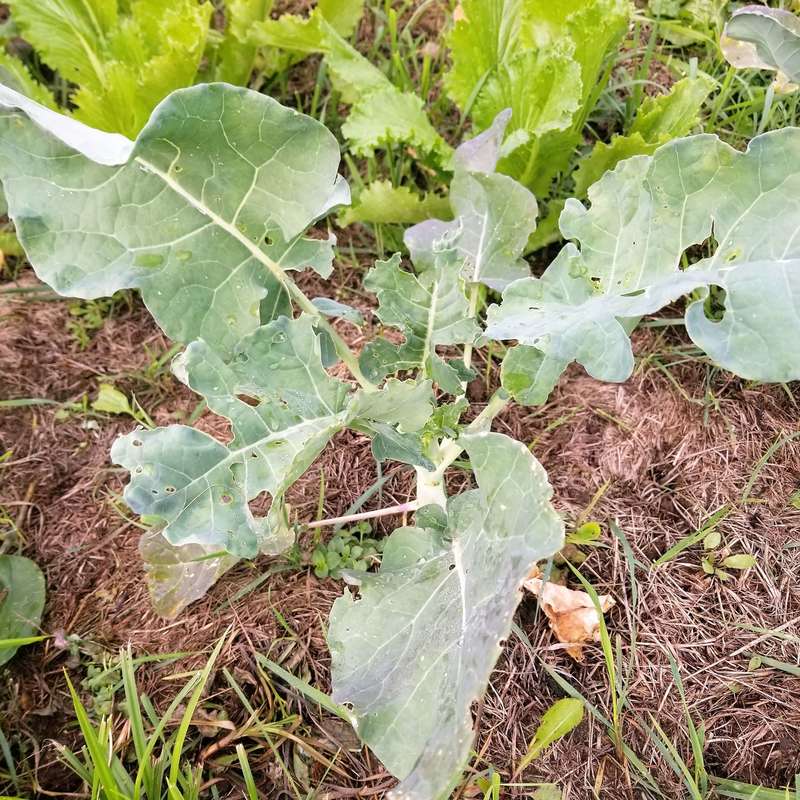
Fall GardeningFall gardening is a great way to extend the growing season and eat fresh vegetables into the fall and sometimes even the winter. Fall gardening also has several other advantages over the traditional spring/summer garden. One big advantage is that there are significantly fewer insect pests around to destroy your crops. Another advantage is you don't need to worry about summer coming on too quickly and your plants bolting too soon. For the northern garden, some of the best crops to plant for a fall garden include lettuce, broccoli, cabbage, spinach, mustard greens, kale, chard, peas, cauliflower, turnips, collards, carrots, and more. Basically, anything you would plant in the spring can be planted again in the fall. The following are a few tips for a successful fall garden. 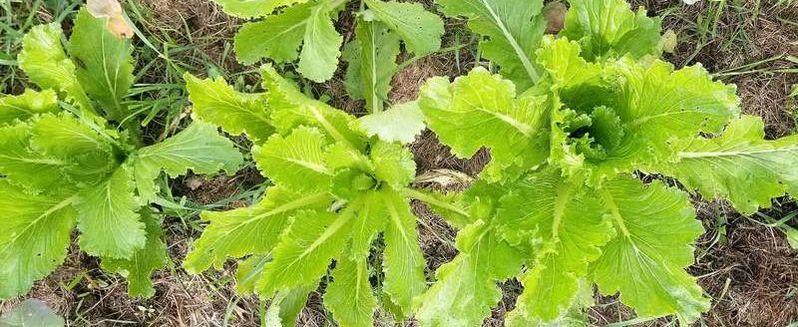 Tip #1: Time your Planting!Timing when to plant your fall garden is probably the most important factor. To determine the proper timing, you need two pieces of information. First, you need to know the average first frost date for your area. This is the date in the fall where on average (generally 50% of the time) the first hard or killing frost occurs. Remember, this is just an average so it is possible that the first frost may actually occur a week or two or even more in either direction. To determine your average first frost date, you can use a website such as the one by the National Climatic Data Center which gives the average frost dates for both spring and fall at various probabilities (I generally use the 50% one). There are plenty of other websites that give similar information but each one may vary slightly so you may want to check a few sites to get reliable date from multiple sources. The second piece of information you need is the average number of days to harvest for each vegetable you plant. This generally can be found on your packet of seeds. Different varieties of the same vegetable can vary greatly so you want to make sure you are using the dates from your specific variety not generic information for a general type of vegetable. In general, however, spinach, lettuce, and other greens grow quickly and will require fewer days to harvest and so can be planted in late summer or even early fall depending on your zone. Other vegetables that take longer to mature such as broccoli or cauliflower you will need to plant sooner, such as mid to late summer, again, depending on your zone. For example, if your vegetable takes 50 days to harvest and your average first frost date is October 1st then you would want to plant your seeds around August 12th which is 50 days before the average last frost date. Spinach and mustard greens grow quickly and can be planted later or multiple plantings staggered throughout late summer and early fall.Tip #2: Water your Seeds!Most years you will need to water more when planting a fall garden than for a summer garden. In general, we receive more rain in the spring and early summer so nature does a great job watering for us during those months. However, in our zone most of our planting for a fall garden needs to be done in mid-July to late-August. This is generally a drier time for much of the Northeast and Midwest so in order to receive optimal germination I usually water every 1-2 days until the seeds germinate and a good root system is established. Chinese cabbage and traditional cabbage grow much better in the fall when insects and slugs are less active.Tip #3: Cover your Plants!If your first frost comes earlier than expected there are ways to protect your plants so you do not lose your crops. The best way is to cover your plants to provide a few degrees of protection. The easiest way is to cover larger areas with a tarp or plastic of some kind, just do not let it touch the plants. You can also buy large frolls of cloth frost cover that is specifically designed to provide cold weather protection for plants. Frost covers come in a variety of thicknesses or you can double up for increased protection. Remember, however, that the thicker the cover the less light is allowed through. For individual plants, you can cover them with a milk jug with the top or bottom cut off or a pot or bucket. This can be time consuming depending on the size of your garden. Alternatively, you can plant your veggies in a greenhouse or cold frame. This requires more money upfront to build a greenhouse or cold frame. Most people are familiar with a greenhouse however a cheaper and easier version is to build a cold frame. This involves simply adding a clear “lid” to the top of a raised bed. This is generally glass or plastic. Many people recycle old windows and fit them to the top of a raised bed. The key with a cold frame is that they need to be lifted up to vent during the warm days and then closed at night to protect the plants from frost. Cold frames and greenhouses can significantly lengthen your growing season particularly in northern climates. Collards, peas, and broccoli are all great options for a fall garden. |
AuthorIn 2016, my family and I moved from the New York City area to small town Wisconsin. Our move, this website and blog (and our previous Etsy store) is the result of our desire over the past several years to simplify our lives, increase our quality of life, reconnect with nature, and enjoy a more self-sufficient life. I grew up as a country kid in central Pennsylvania working on my grandfather's fruit farm and as a corn "de-tassler" at a local seed farm. My background is in biology where my love of nature originated. I am a former research scientist and professor and have now transitioned to a part-time stay-at-home mom, self-employed tutor, and small business owner. Thank you for taking the time to check out my site. Archives
July 2024
Categories
All
|


 RSS Feed