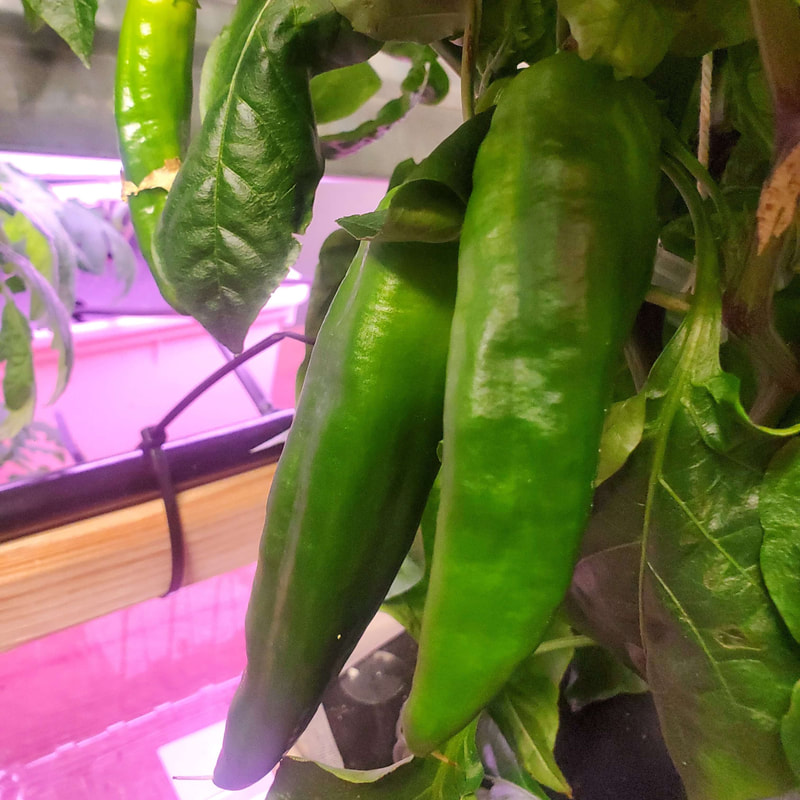
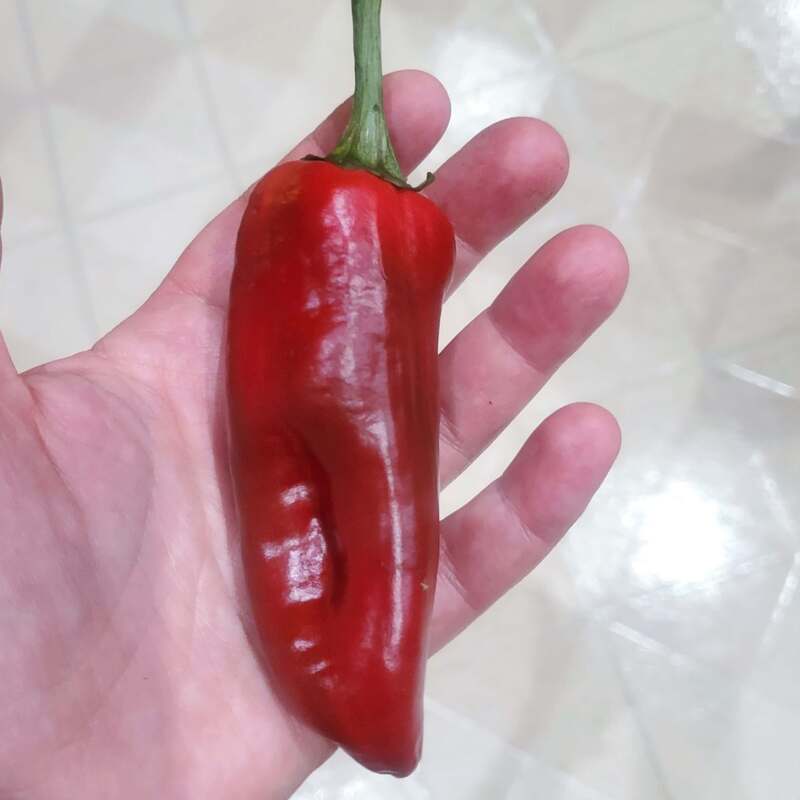
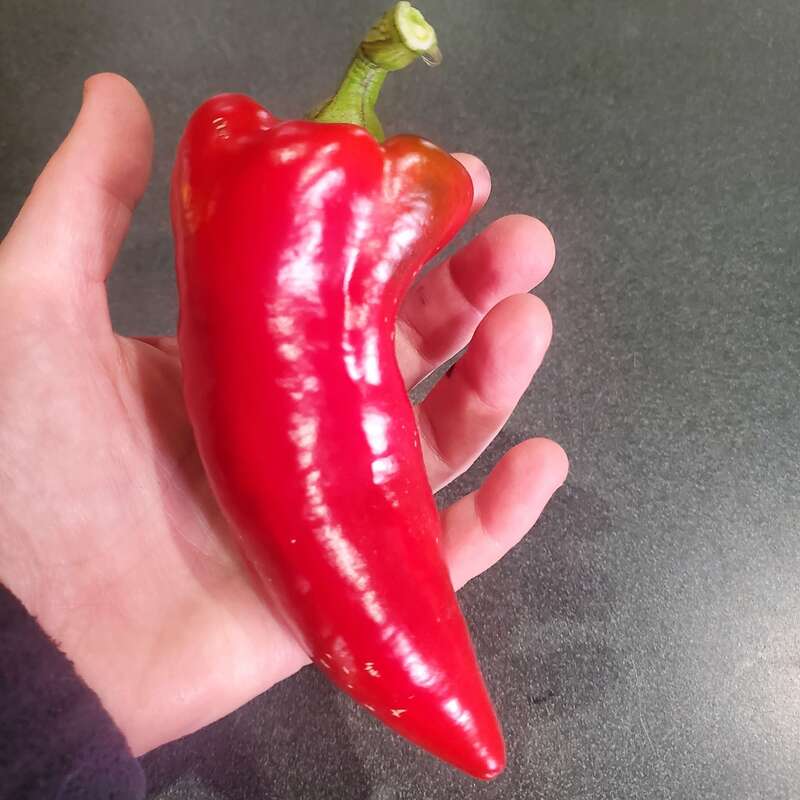
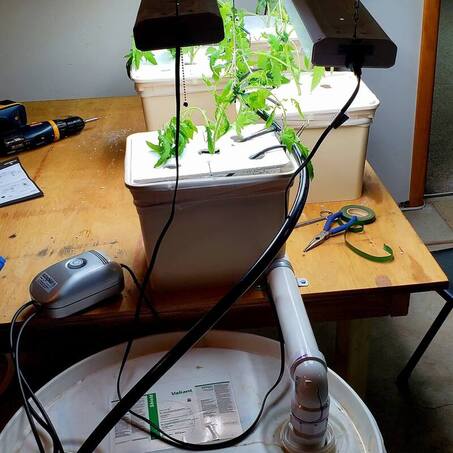
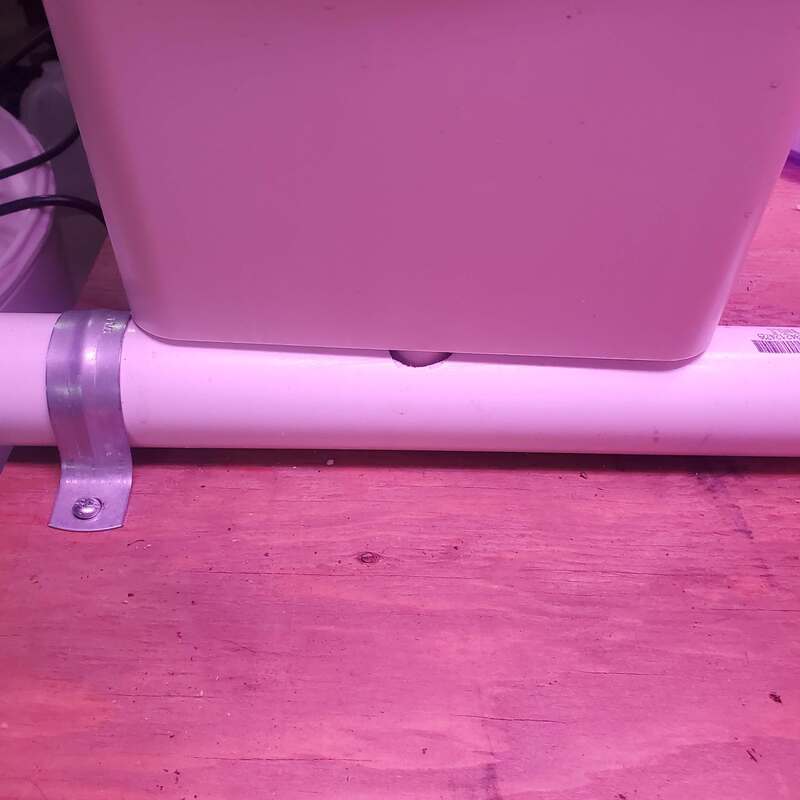
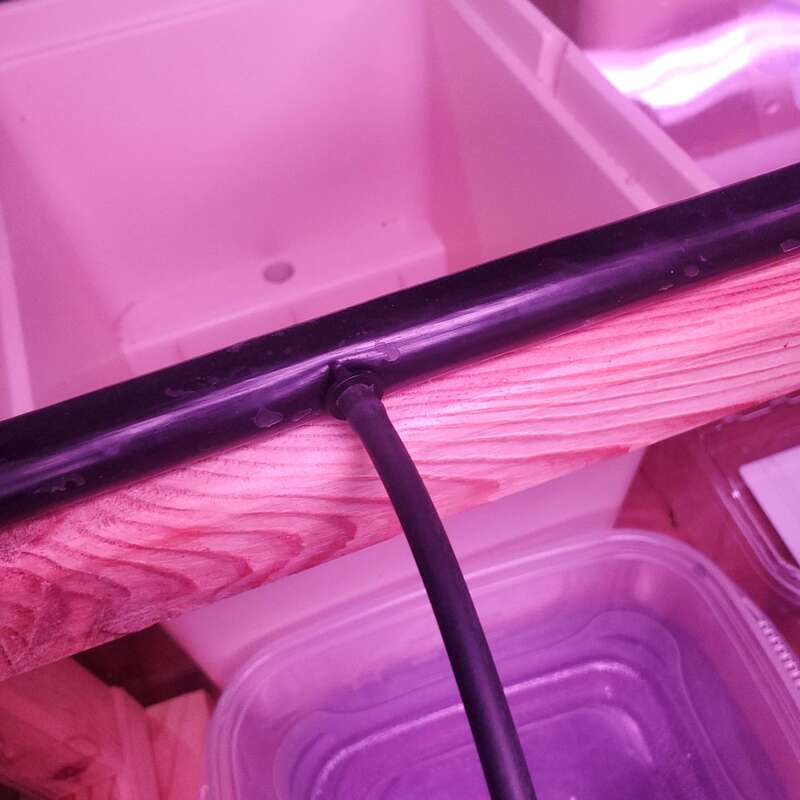
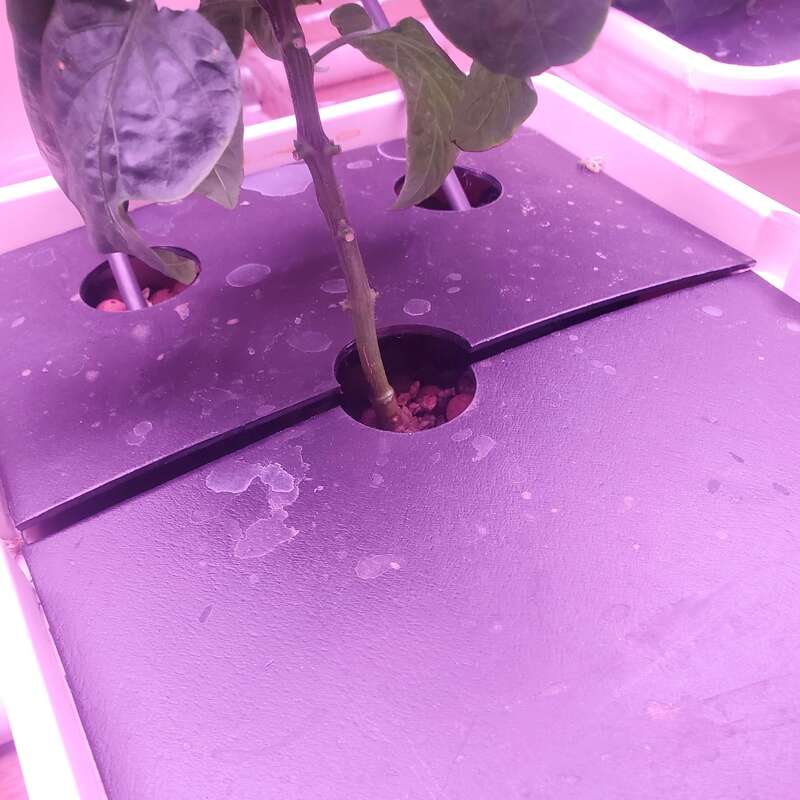
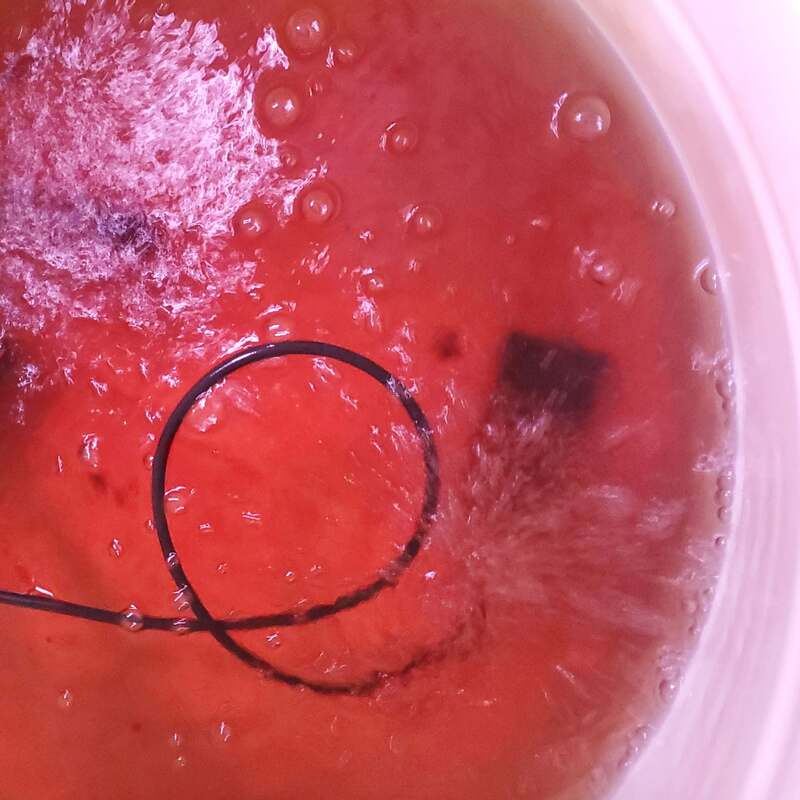
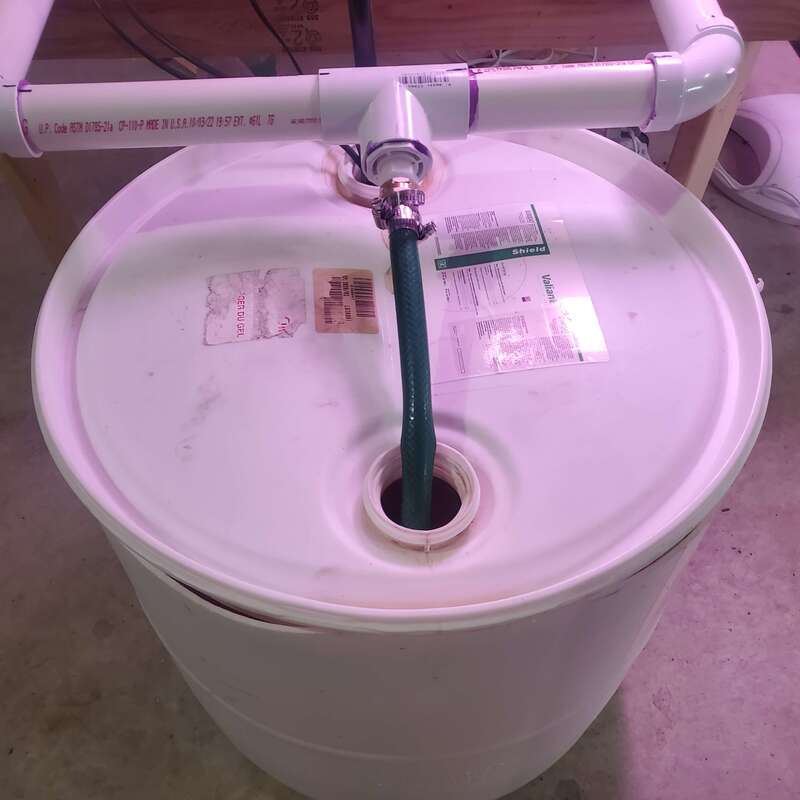
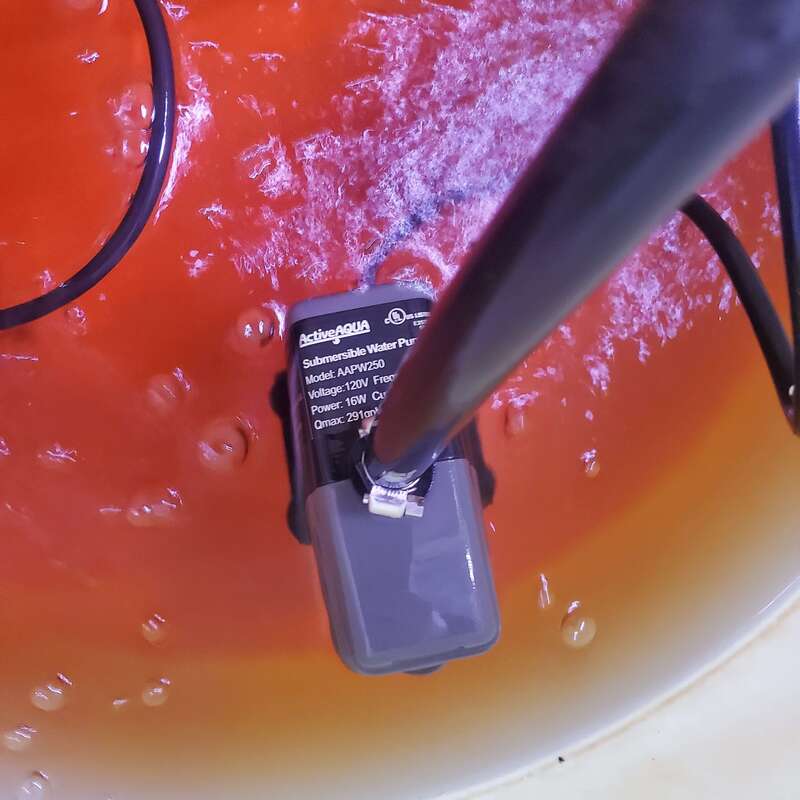
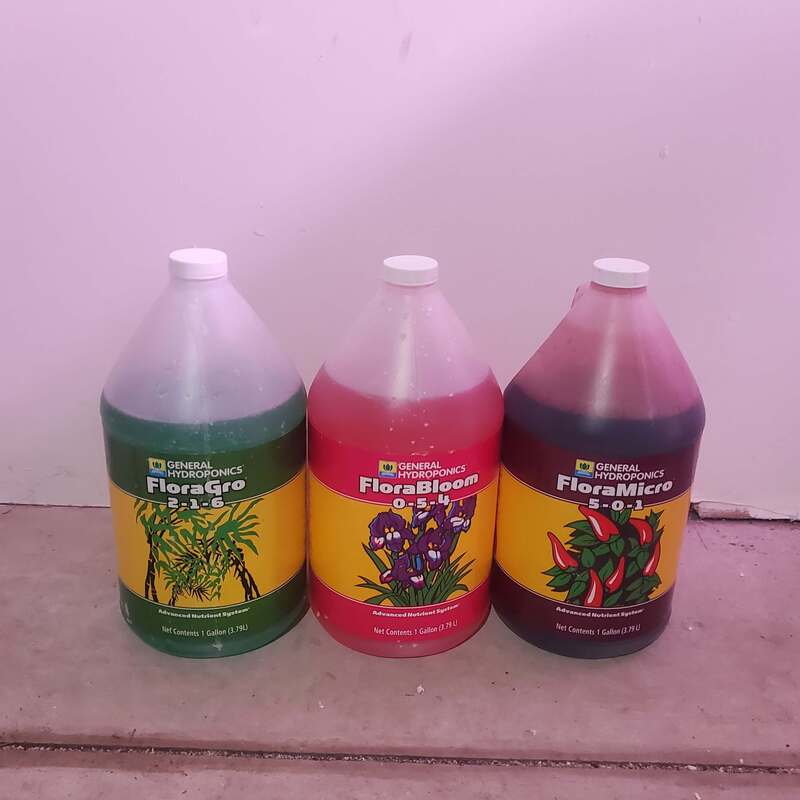
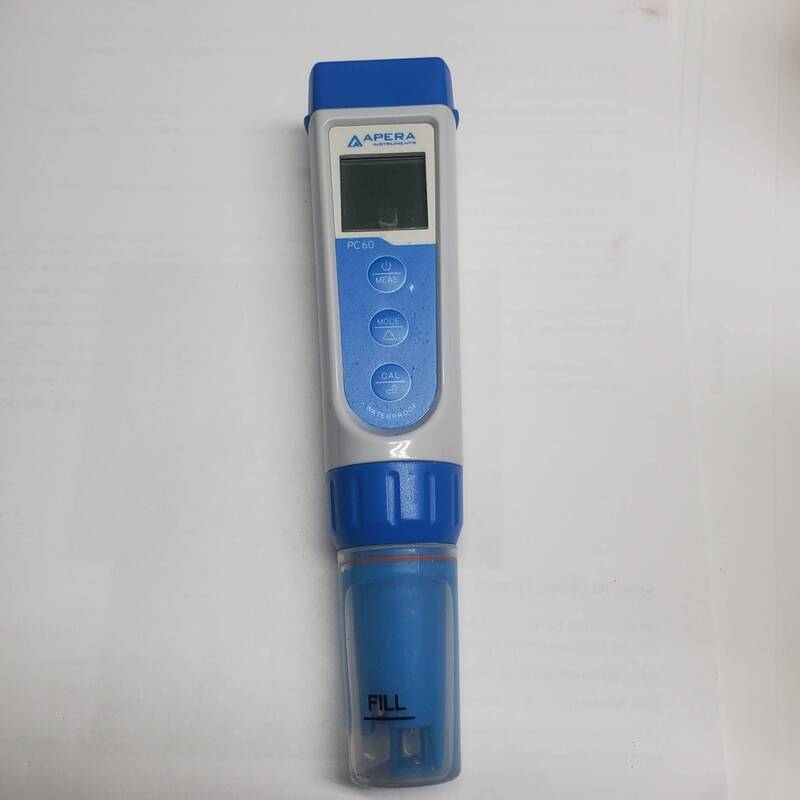
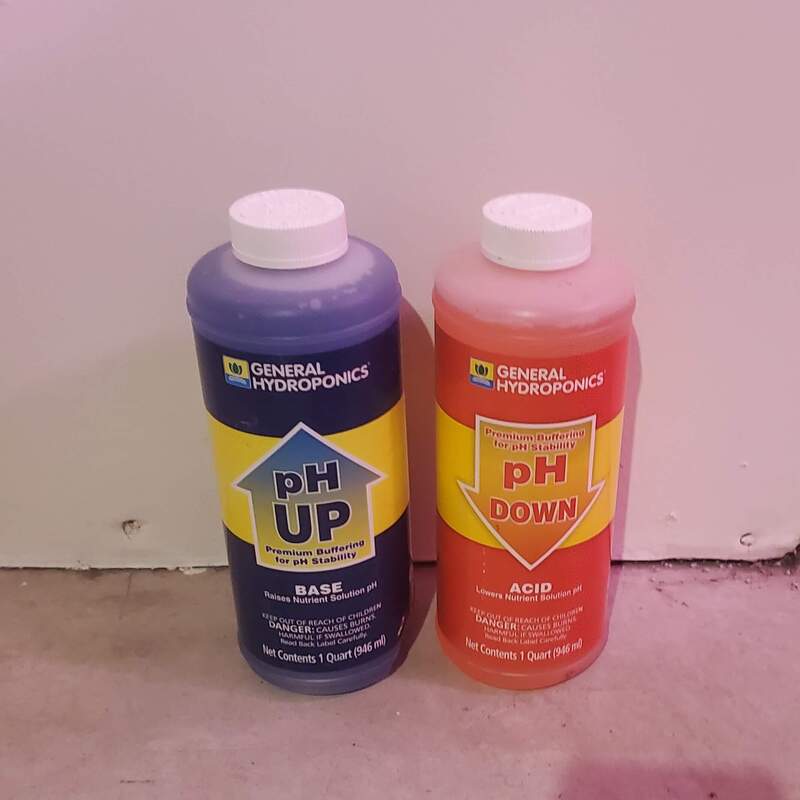
HydroponicsWhy Hydroponics?I have been interested in hydroponics since I was a child. For an elementary school science fair, I compared traditionally grown vegetables (beans and corn) to hydroponically grown ones. Although I did not win, which I am still a little sore about, I did learn the basics of hydroponics. The good news is that 30 years later there are many more options out there for hydroponic gardening. You can purchase a setup, or you can DIY one. You can use your setup indoors, in a greenhouse, or even outside. You can make up a nutrient solution from scratch or you can buy pre-made powder or concentrate and dilute it. You can use media-based hydroponics or no media at all. Or, for an extra challenge, you can venture into aeroponics or aquaponics. Although I like the idea of hydroponics, part of me feels like it is cheating without using soil. I love gardening, mostly because I can spend time outdoors and play in the dirt. Although some types of hydroponics use media, no hydroponics system uses actual soil. However, the big plus for me that outweighs all others is that hydroponics is a way to extend the season and harvest vegetables in the middle of winter. For this article, I will focus on an indoor system that uses supplemental lighting. I live in central Wisconsin in USDA agricultural zone 4b which means I can work in my garden from roughly April to November. We often still get snow in April, so it is not unusual for my cold crop seeds to get several inches or more of snow on them (they still sprout just fine though). We can also have a hard frost by mid-September although most years it is in October, but it has also been as late as November. I extend the season the best I can with frost covers but unless I buy a heated greenhouse there is not enough heat in a Wisconsin winter, or even enough light in a day to grow crops. Most plants do not grow much when days get shorter than 10 hours of light. When daylight falls below 10 hours per day, this is called the Persephone period, named after the Greek goddess of the harvest. For my area, that means that without supplemental light I cannot grow anything outdoors from November 5th to February 4th. You can however overwinter cold-hardy crops like spinach, kale, parsnips, and carrots. These crops will survive, but not actually grow until the daylight hours get longer, and the temperatures are above freezing again in the spring. What Type of Hydroponic System?Lately, Aerogarden and similar systems have become very popular. They are also very expensive. I did finally break down and buy a small Aerogarden on sale last year and I must admit it is great for crops like salad greens and herbs. I first tried tennis ball lettuce using one of the grow-your-own kits and it grew fantastically. You do not get much product, however, but it was enough for a couple of small salads or lettuce for sandwiches over the course of several weeks. However, what I am most interested in growing during a Wisconsin winter are tomatoes and peppers. I am obsessed with growing tomatoes and peppers because I love to try all the different varieties, and there are thousands of them out there. You can also easily save your own seed which means you do not need to keep buying fresh seed every few years. I discovered, however, that to grow larger crops with a purchased system is at least $800 or more. So, I decided (with the help of my husband) to build my own hydroponic system that can accommodate larger, flowering crops. Please note there are many, many different types of DIY hydroponic systems, I am only going to cover one as it is the only type I have experience with thus far. After extensive research, I realized the hydroponic system that is used most often for larger flowering crops is the Bato bucket or Dutch bucket system. Bato buckets are a type of ebb and flow (or flood and drain) system of hydroponics. These are not the easiest hydroponic systems to set up, but they are also not so complex that a reasonably handy person with a few common tools cannot do it either. There are two steps to the ebb and flow system, the flooding step where the nutrient solution floods over the roots, and then the drain step where the nutrient solution flows back to a reservoir. You can keep the Bato buckets (pots) separate or link them up in sequence to an irrigation system with a pump and drainage tube which allows them all to be fertilized at the same time and then have the nutrient solution drain back into a reservoir to be re-used during the next flood cycle. Another huge advantage to this system is that you can use timers to have not only the lights turn on and off but also turn on the pump which irrigates your buckets, without any labor on your part, once the system is set up. I have my system set to pump nutrient solution just three times per day (8 am, 2 pm, and 8 pm) for 30 minutes each. Because this type of system does not have nutrient solution flowing over your plant roots all the time, you need to use some type of media that holds moisture so the roots do not dry out in between irrigation times. The most common types of media used in hydroponics are perlite and expanded clay pebbles also known as LECA (light expanded clay aggregate, one common brand name is Hydroton). I have tried both and thus far prefer the expanded clay pebbles, but both have worked well for me. Perlite is made of volcanic rock and is cheaper than clay, but it can only be used 1-2 times before fresh is needed. I plan to add my used perlite to my raised beds outside to increase drainage, so I will not need to throw it out after it is used. Perlite is good because it is lightweight and retains water well, but I found it difficult to clean to reuse it. Additionally, because the pieces are small you need to use a mesh strainer bag in your buckets to keep the perlite from washing into the drainage system and clogging your pump. I used paint strainer bags, but I am uncertain if the plastic used in them is food-safe (if anyone knows send me a message!). Therefore, my preference is to use the expanded clay pebbles. Because the clay pebbles are bigger and will not clog the drainage system there is no need for the paint strainer bags, and in my opinion, less plastic is always good. Both the clay pebbles and perlite are dusty so be sure to wear a mask when using them until the substrate is wetted thoroughly. The clay pebbles are especially dusty so they need to be rinsed extensively before use. Two disadvantages of the clay pebbles are that they are heavier and do not hold water as well as the perlite. They seem to hold sufficient water for my plants to be fine overnight when I do not run the irrigation system, however, in the event of a power outage I think I would have to manually water the clay pebble pots more frequently than the perlite to keep them moist. Before I bought all my supplies and started setting up my system I watched some YouTube videos, one of the most helpful was “How to Build a Bato Bucket System” by ZipGrow. Their system was designed for 8 buckets, but I started with only 4 to make sure it worked before I invested more money into a larger system. I did make a table big enough to expand to 8 if I wanted to and I have since expanded my system. I also looked at some commercial systems that are available to purchase to see what supplies they came with to figure out what size water and air pumps, tubing, air stones, etc. I should purchase. Setting Up Your Hydroponic SystemI ended up setting up my Bato bucket system very similarly to the YouTube video but instead of one long system, made it to fit on a 4x4 foot table instead of a long 2x10 foot table. I also used drip stakes, instead of drip emitters because I like to push the stakes into the media to help hold them in place. For a Bato bucket system, you will need a nutrient reservoir unless you wish to manually water and drain the nutrient solution yourself. You can purchase reservoirs that are made specifically for hydroponics, but they are very expensive, which is why we cut a 55-gallon drum in half to use as our reservoir. Whatever you choose, make sure it is made of food-grade plastic and is opaque, or paint the outside to block light. Everything in hydroponics should be opaque to limit the growth of algae. You will also need the Bato buckets with elbows for drainage. I purchased these but many people have turned 5-gallon buckets into Bato buckets. PVC pipe that is 1.5” in diameter is needed for the drainage system (you need 10 feet if you want to have 8 buckets) plus an end cap for one end and an elbow for the drainage end. We ended up needing 2 end caps and 2 elbows once we expanded our system to two four-foot-long drainage tubes instead of one long one. One-half-inch tubing is used for the irrigation lines, plus a drain/stop valve for the end of the irrigation line if you want to be able to flush it. One-quarter inch tubing is used to run drip emitter stakes from the ½” irrigation tubing to the buckets, ½” clamps are used to clamp the irrigation tubing to the submersible pump and to clamp the drain/stop valve to the other end of the irrigation tubing. You also need a submersible pump to pump the nutrient solution to the plants as well as an air pump with air stones to keep the nutrient solution aerated. You can buy air pumps, air stones, and submersible pumps that are made specifically for hydroponics, or you can use ones that are designed for aquariums and ponds (just make sure they are food-safe). Zip ties are helpful to keep the air pump in place and we also used them to hold our irrigation tubing along a wooden rail in the middle of our two PVC drainage pipes. If you do one long pipe you can use 2-inch binder clips to hold the irrigation pipe along the backs of the Bato buckets, like in the YouTube video. I did not like this method because the irrigation tubing was so stiff it pulled the Bato buckets off the PVC drainage pipe and I ended up needing to put a large rock in the bottom of each bucket to hold them in place. In addition, a low table or bench is nice, so you don’t have to bend over so much as well as sufficient electrical outlets, a fan for air circulation, and a decent grow light. I used both 4-foot fluorescent fixtures with grow bulbs as well as a newer LED fixture. The LED light which was designed for hydroponics is much more powerful than the 4-foot fluorescent grow light, so it does not need to be as close to the plants and the plants grew much better on this half of my setup. I have since purchased a second LED grow light so I can have complete coverage of my 4’x4’ table. I use a 55-gallon drum cut in half as my nutrient reservoir. These are widely available in my area for free or cheap as most dairy farms buy solutions in them. We also cut the top off to use as a lid to help keep light out and help prevent evaporation. My reservoir holds up to about 30 gallons, but I usually have only 10 gallons of nutrient solution in it. When it drops by a gallon or two, I top it off until it is time to completely replace it. A rough rule of thumb is when you’ve had to top off your nutrient solution with the same amount as your total solution (in my case 10 gallons) over a certain period, then it is time to replace the solution. For example, if it takes 3 weeks before you add back a total of 10 gallons of solution, then you should replace the nutrient solution with fresh after 3 weeks. If this happens in one week then you need to replace it sooner, and you probably need a bigger reservoir. For me, I usually replace my nutrient solution with fresh, every 2-4 weeks depending on how many plants I have hooked up to the system and what stage of growth they are in. It is also a good idea to replace your solution regularly because, in addition to the depletion of nutrients, you may also want to tweak the different types of nutrients you use depending on the stage of growth. For example, you want to use a more dilute solution targeted toward vegetative growth when you first transplant your seedlings into your buckets. But later, when they start flowering you likely want to increase the nutrients and add more phosphorus-containing solution to increase flowering. In addition to the reservoir, we also made our lids for the Bato buckets as the ones I found online were flimsy. To make lids for our buckets we bought a 24”x36” sheet of HDPE food-safe black plastic and cut out lids to fit using tin snips. We cut them in half to make them easier to place around the plant and cut out holes with our drill press and Forstner bits for the plant stem plus the tubing for the drip stakes to fit through to deliver the nutrient solution. To set up the entire system, first, you need to set up your PVC drainage tubing along your table and drill holes into the top about every 1 foot for the drainage tube from the Bato bucket to fit into. We used 1.5” pipe clamps to hold the PVC pipe in place on the table. You need to cap the PVC on one end using PVC cement and place shims to lift one end of your table slightly or cut the legs on the drainage side of your table slightly shorter, so the nutrient solution drains out, instead of being stuck inside the PVC and potentially getting stagnant. You may need to get creative to make the drainage end of the PVC drain into your reservoir depending on what you are using. Since we set up a second drainage system attached to a single reservoir, we needed the 2 PVC drainage pipes to come together to drain back into the reservoir. If you have the space, it is easier to just make 1 longer PVC drainage pipe. Next, attach your larger irrigation tubing to your submersible pump and then run the tubing along the edge of your buckets. You need to either cap the end of the tubing or attach a shut-off valve so you can flush the tubing more easily. Then drill using 1/8” drill bits into the irrigation tube, preferably off to the side, and connect a small piece of ¼” tubing with a dripper stake at one end long enough to reach the center of the Bato bucket. The dripper stakes (I get mine from Drip Depot) come with adaptors to connect the ¼ tubing to your larger irrigation tubing, however, it is not unusual for these to leak slightly so you need to make sure it drips back into your bucket (this is easy if the tubing is attached to the side of the Bato bucket with 2” binder clips), or set up a system to catch the drips and return them to your bucket or reservoir if the tubing is not close to the buckets. I am currently just using aluminum foil to catch the drips but have recently purchased a food-grade glue to hopefully stop the leaking. I found the tubing to be very stiff so connecting it to the buckets was difficult and the binder clips were not always sufficient to keep it attached, plus if the buckets were light (only contained perlite) they sometimes moved due to the force of the tubing. Therefore, we switched to running the irrigation line down the center of the table and having the more flexible ¼” tubing running to each bucket. This way we can have 2 sets of buckets (4 on each side, 8 in total) on each side of the tubing and do not need to worry about trying to bend the ½” tubing to reach each Bato bucket. Last, you need to connect one end of ¼” tubing to your air pump and the other end to your air stones. I keep my nutrient solution aerating 24/7 but the submersible pump is on a timer to only run 3x per day. Remember, if your roots are submerged in water constantly, this will likely lead to root rot as the water will prevent the roots from receiving proper oxygenation. NutrientsOne big final question is what type and how concentrated your nutrient solution should be? I have been using the three General Hydroponics nutrient solutions with their CaliMagic and Floralious added in. I have also heard great things about the Masterblend dry mix which you combine with water. The advantage of General Hydroponics is you do not need to dissolve the nutrients, so it is faster to set up. The disadvantage is that it is more expensive, and I have had mold grow in the concentrated solutions which would not be a problem with long-term storage of dry nutrients. I have since started buying smaller bottles that I can use up more quickly before they get contaminated or expire. General Hydroponics has a great chart on its website for how many milliliters of each concentrated nutrient solution to add for each stage of growth per gallon of water. It also gives the ppm/EC value you should hit if you use those concentrations. Once you mix your solution you should double-check your pH (generally you want between 5.5-6.5 for tomatoes and peppers) and EC or TDS values. EC is electrical conductivity, a measure of any dissolved salts (nutrients) that affect the conductivity of your solution. Basically, the higher the EC, the more nutrients/salts are dissolved in the solution. EC is measured in mS/cm or millisiemens per centimeter. TDS is total dissolved solids and is measured in parts per million (ppm). I have an EC meter so I start off at 0.8-1 for seedlings and go up to 1.6-2.0 for full-size plants. I keep the lights on 18 hours per day when they are still growing but drop them down to 12 hours per day once fruiting begins. As far as what type of water to use, you should ideally have your water tested by a water laboratory to determine if it is good enough to use for hydroponics. I have yet to have mine tested but since I have softened water, I switched from sodium chloride to potassium chloride as a softener which is more expensive but better for plants. If you have water that is unacceptable for hydroponics, you can consider a reverse osmosis system or use distilled water. ConclusionHopefully, this post and the pictures help explain how to set up a Dutch Bucket system. If you have any questions, feel free to comment or send me a message!
0 Comments
|
Details
AuthorIn 2016, my family and I moved from the New York City area to small town Wisconsin. Our move, this website and blog (and our previous Etsy store) is the result of our desire over the past several years to simplify our lives, increase our quality of life, reconnect with nature, and enjoy a more self-sufficient life. I grew up as a country kid in central Pennsylvania working on my grandfather's fruit farm and as a corn "de-tassler" at a local seed farm. My background is in biology where my love of nature originated. I am a former research scientist and professor and have now transitioned to a part-time stay-at-home mom, self-employed tutor, and small business owner. Thank you for taking the time to check out my site. Archives
July 2024
Categories
All
|
 RSS Feed