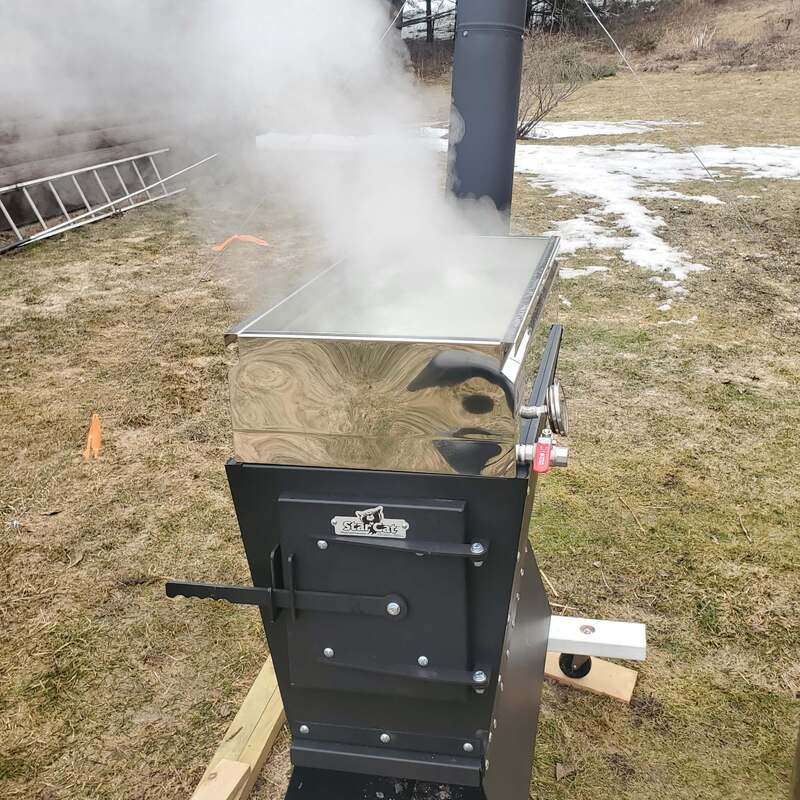
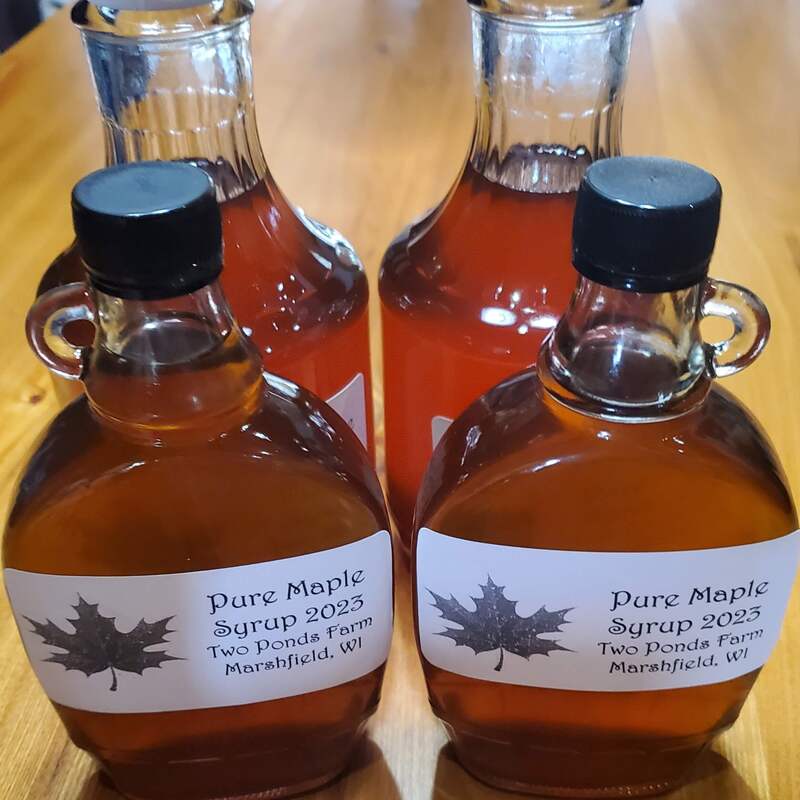
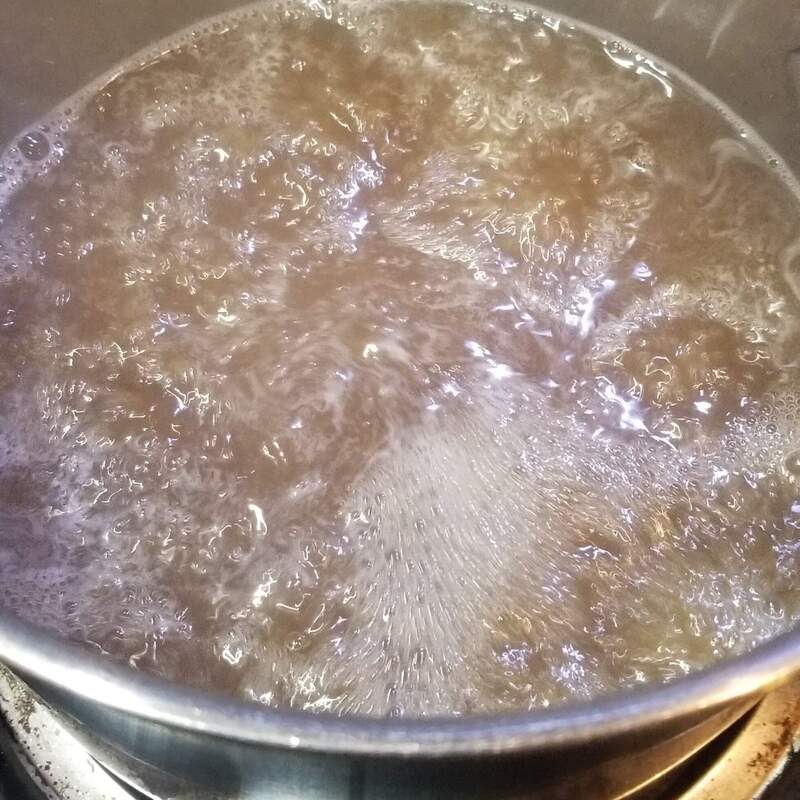
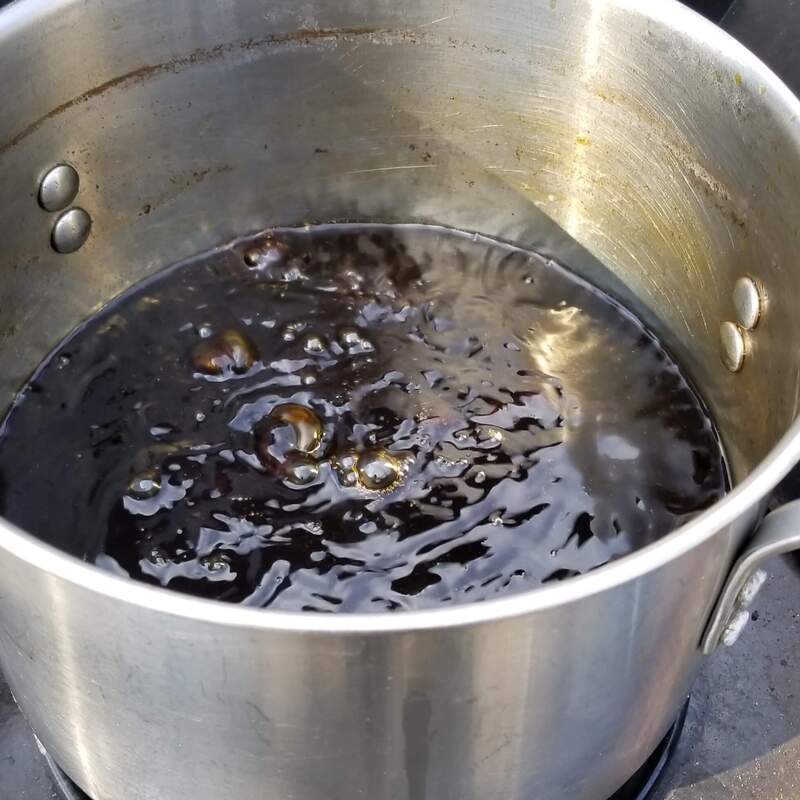
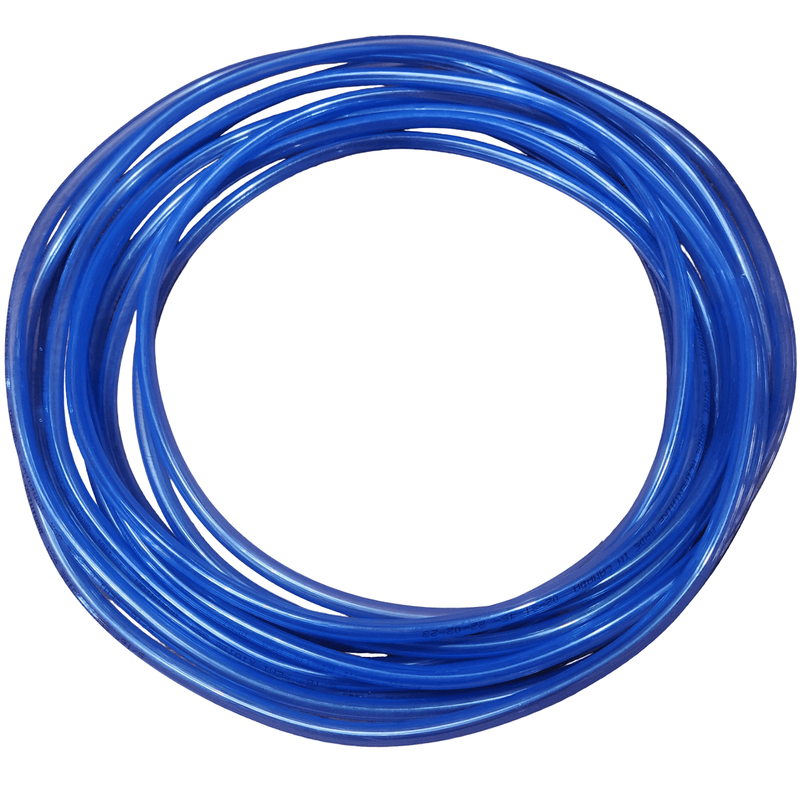
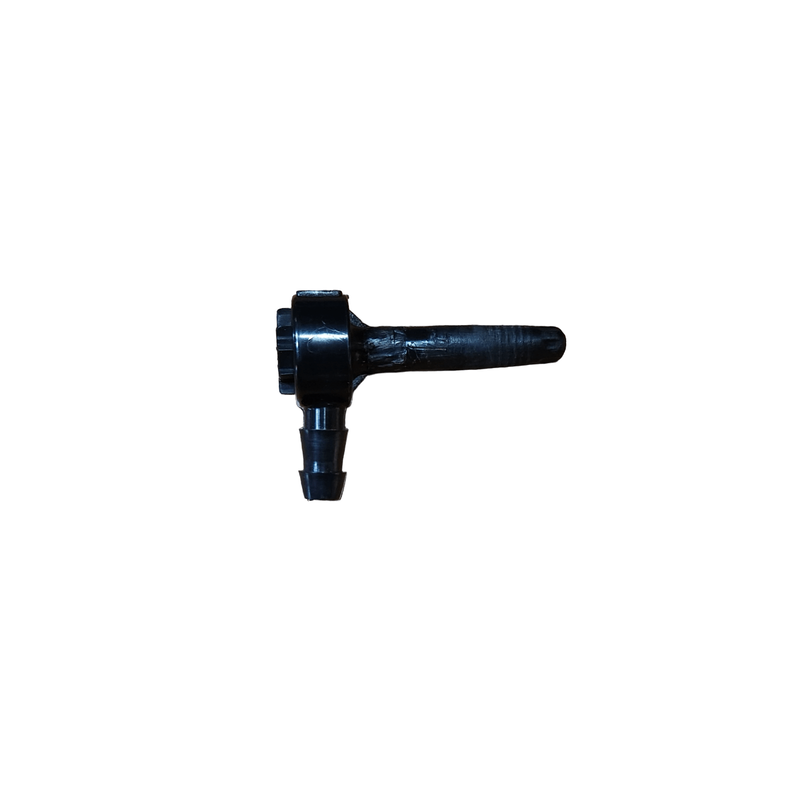
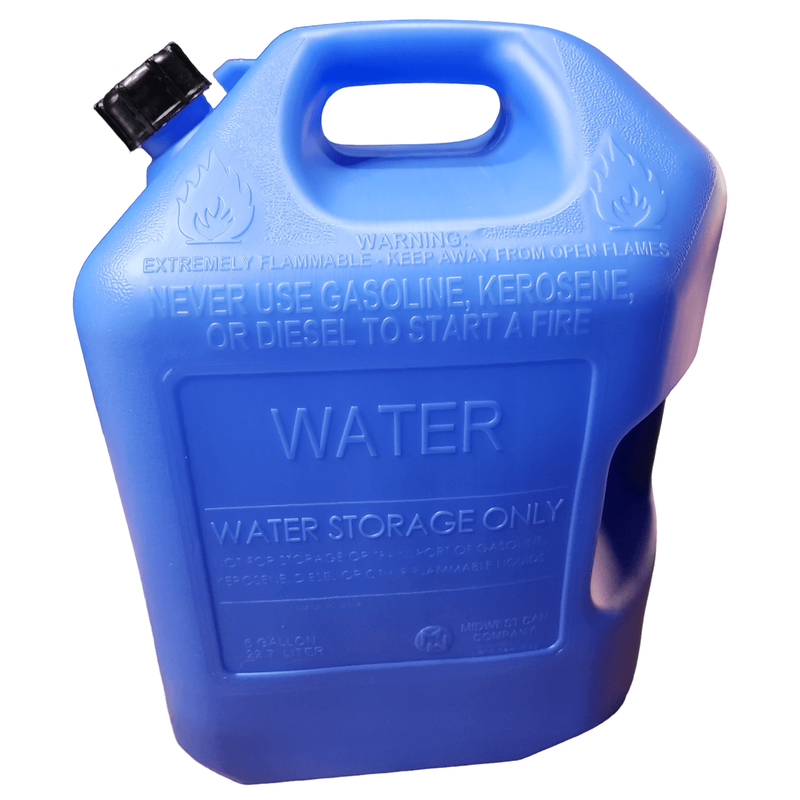
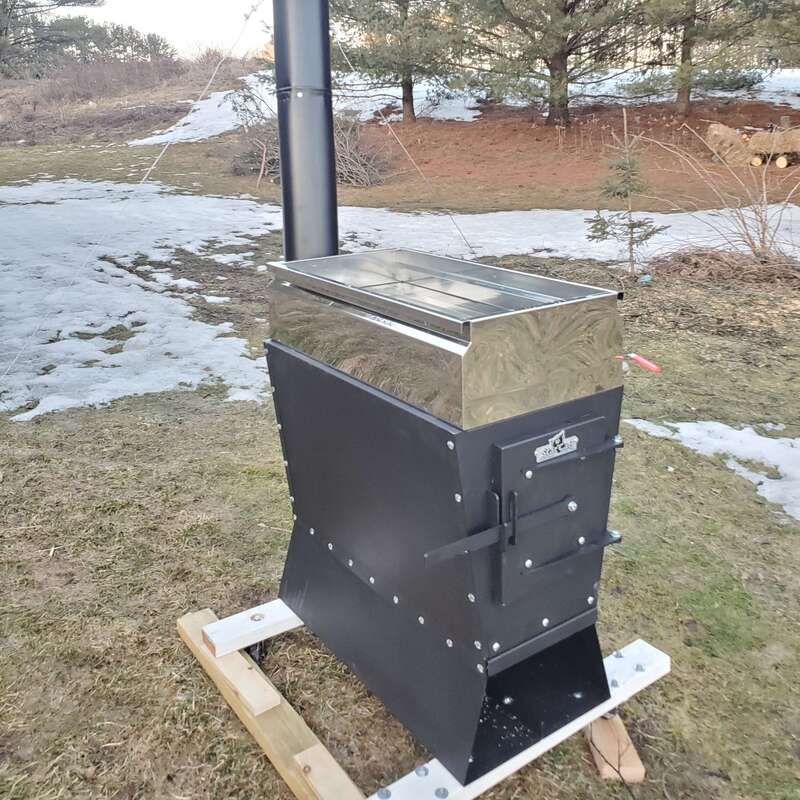
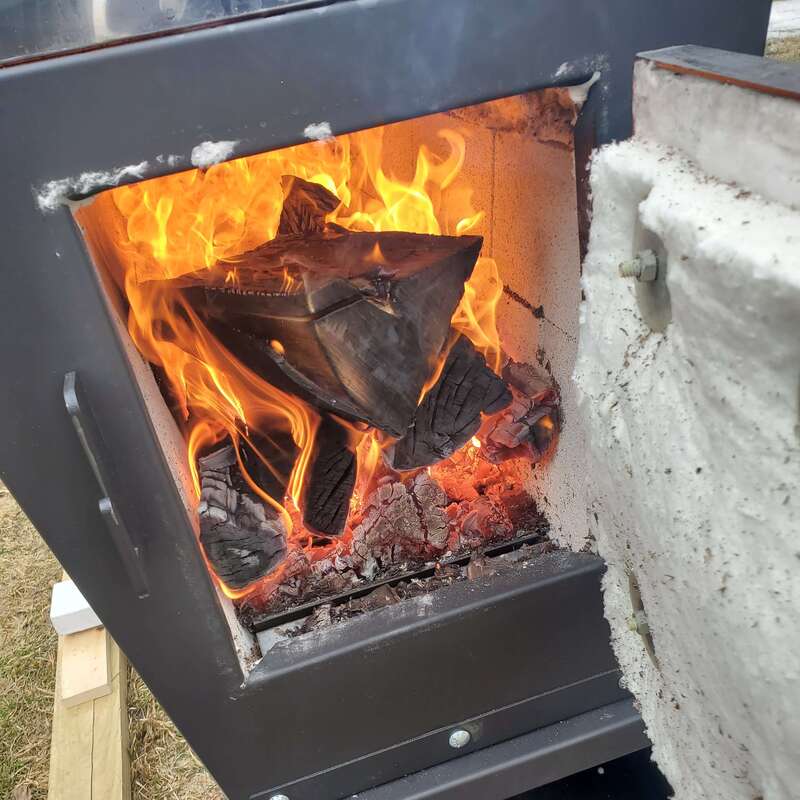
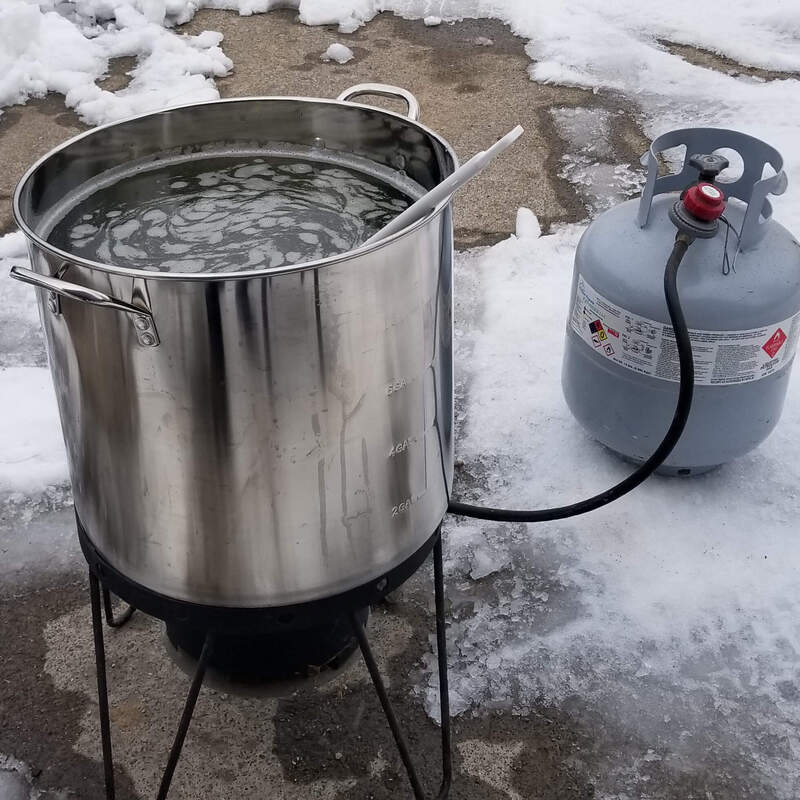
Maple SyrupingWe have been collecting maple (and occasionally birch) sap for about five years and boiling it to make syrup. This article is targeted to small, backyard syrup producers, collecting from ~2-12 taps. However, I will also discuss different methods to collect sap and make maple syrup if you wish to increase production. Why Make Maple Syrup?The truth is I do not eat maple syrup except for a taste once a year when we make it (I have difficulty regulating blood sugar). So why do I love to make syrup, even when I cannot enjoy the final product? The simple truth is that it is a fun, unique experience that occurs at a time of year when not too much else is going on. Maple syrup production occurs in early spring, and this is a time on our property when we have fewer tasks to do compared to late spring through fall. Collecting sap and boiling it down while you relax outside by a fire is a unique, almost magical experience that I highly recommend to anyone who has the chance. It is easy to buy real maple syrup, especially where I live because so many people make their own and sell extra. But real maple syrup is expensive and for good reasons. It is a time-consuming process to collect and boil down the sap, which generally has a 2-3% sugar content, into syrup which is 66-68% sugar. So, making maple syrup yourself may save money (if you do not count your time) depending on your setup and how you boil it down. If you have access to wood on your property you can boil it down for free (again, not counting your labor) but otherwise expect to pay for wood or propane to use as fuel. You can also make an evaporator relatively cheaply, if you are handy, or buy a large pot or flat evaporator pan to use over a wood or propane fire, to minimize expenses. However, unless you invest in a reverse osmosis system (more on that later) the one thing you cannot minimize is time. How Much Sap Do You Need?The general rule of thumb is that a 40:1 ratio of sap to syrup is needed if collected from sugar maples (other maples are closer to 50:1 and other trees can be tapped like birch and walnut but have even higher ratios). This means if you want to make a gallon of syrup each year you need to collect at least 40 gallons of sap. Larger producers now mostly use reverse osmosis systems first to eliminate as much water as possible and therefore increase sugar content before boiling the remaining sap with an evaporator to the final required sugar concentration for syrup. You can also collect sap from other trees to make syrup, including birch trees but the ratio is approximately 110:1, so you need over 100 gallons of birch sap to make a gallon of birch syrup. The syrup is also darker and more savory tasting than maple syrup, even with similar ending sugar content, and is often used as a glaze to cook salmon or pork. One advantage of birch trees though is that the sap tends to run after maple so by the time you are done collecting maple sap you can remove your taps and re-use them on any appropriately sized birch trees you may have. Walnut trees (Juglans), including black walnut, butternut, English walnut, and others can also be used. We have made birch syrup for a couple of years but prefer maple. We also have some black walnut trees on our property but have not tapped them as they are still too small. The color of almost done maple syrup (left) is much lighter than birch syrup (right). Timing MattersMaple syrup is always made in spring because that is when the sap starts running in trees. During the summer, trees conduct photosynthesis in their leaves. Photosynthesis is the process whereby trees and other plants take light energy and convert it to sugar. They use the energy from the sun plus carbon dioxide from the atmosphere and convert the carbon dioxide to organic sugars. In the process, they also release oxygen, which is very lucky for us! The tree uses the sugar to grow but extra sugar is pumped down from the leaves into the roots for storage over winter. The following spring when the days warm up, the sap starts running. The roots take up water from the ground and move it up the tree, taking all that stored sugar with it. Sugar is the energy source that the trees use to bud out and grow leaves that spring. Once temperatures start warming up to ~40°F during the day but still dipping below freezing at night, the sap will start running. In central Wisconsin, this is usually March into early April. This year (2024), however, we had a huge warm-up in the first couple weeks of February and again later in February, and many people decided to tap early (this is the earliest we have ever collected sap and made syrup). The season can be as short as a couple of weeks or as long as a month or more, but when the days and nights start getting too warm, the sap can go bad in the heat, and it also gets bitter. Usually, when the maple tree buds start swelling, this is a sign you should pull your taps. 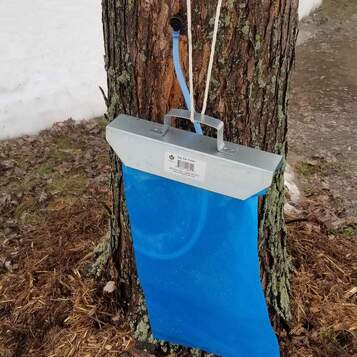 A typical tubing and bag setup for sap collection. We have since swichted to longer tubing with 5-gallon food-grade buckets for collection, which are reusable long-term. Supplies and EquipmentTrees – If you want to make maple syrup you need maple trees. Any larger maple tree works but sugar maples have the highest starting concentration of sugar in their sap. We have mostly red maples and silver maples on our property and measurements with a refractometer show a concentration of about 2% sugar in the sap. This can vary from tree to tree, even within the same species, and the beginning versus the end of the sap season. Generally, you want your trees to be at least 10 inches in diameter at 4-5 feet above the ground. You can put in 2 taps if your tree is over 20 inches in diameter. (1) I see many people putting in multiple taps in trees that probably should not have more than one, I prefer to put the health of the tree first. There are other trees that you can tap for syrup, but maple, birch, and walnut species appear to be the top three most tapped trees. Drill – You will need a drill, preferably battery-powered unless you are only tapping trees close to an electrical source. Some people even use hand drills, but I would not recommend this unless you are only tapping a few trees or have younger people to help drill. We use a 5/16th drill bit because our spiles are 5/16th in size. They also come in 7/16th and 3/16th inch sizes. Spiles/Spouts/Taps, Tubing, and Bags/Buckets – You will need tubing that fits your spile size. This year we switched from collecting sap in bags to using longer tubing into 5-gallon buckets. We have yet to tap more than a dozen trees so we can easily collect our sap by hand but if we ever expand, we will try using gravity flow to funnel the sap from multiple trees into one or more larger collection vessels. Most of our land is flat so this is probably only an option for a small section of our woods behind our house which only has about 8 tappable trees. Many commercial operations use a vacuum system to collect more sap and it does not require gravity to keep the sap flowing into a large collection bucket. If you are collecting sap in the bags or buckets that hang on the tree you only need a short, 1–2-foot, piece of tubing for each tap, or if you can hang your bag/bucket on the spile you do not need tubing at all. This year we started collecting sap in food-grade five-gallon buckets with a lid that we drilled a hole into to insert the tubing. Because we place the buckets on the ground, and you usually drill tap holes a few feet up this method requires longer-length tubing, but it is easier to collect and keeps more debris out of the sap. Although more expensive, the buckets also reduce plastic waste because they are more reusable than plastic bags and easier to clean out between collections. We use plastic spiles, but you can also find more durable metal ones. We now buy tubing in bulk from a local maple syrup supply company (The Maple Dude) and have found that the tubing comes in rigid or semi-rigid types. We much prefer the semi-rigid as it is easier to get over the end of the spiles. Tubing (5/16") can be bought in bulk (left), spiles, also known as spouts and taps (center) come in plastic (pictured) or metal, and water storage jugs (right) are a great way to store smaller amounts (6 gallons) of sap. Rubber Mallet – We use a rubber mallet to pound the spiles into the trees after drilling. 70% Isopropyl Alcohol – We use 70% isopropanol to sterilize the drill bit before drilling and the spiles before inserting them into the tree. Thermos of Hot Water – A thermos of hot water is helpful to warm up the end of the tubing before you place it over the spile. This is especially useful if you have rigid tubing! Even with the hot water we sometimes have difficulty fitting the rigid tubing over the spile. Rope and Bungee Cords – These can be helpful if you are using the collection bags, we have had the wind pull the bags far enough away that the tubing falls out. We usually tie the bags to a tree branch if possible, instead of hanging it off the spile for more security and then wrapping a bungee around the top of the bag and the tree to help hold it in place. Filters – You will likely want at least 2 different kinds of filters. A sap filter is used after collecting the sap to remove any sticks, insects, or bark debris from the sap. A finishing filter (often with a pre-filter inserted) is used for a final filter of the syrup at the end of the boil. 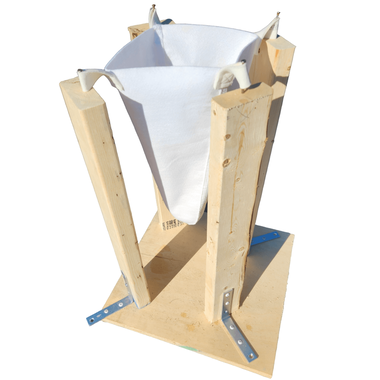 A finishing filter in a homemade filter stand. The stand is large enough to fit a 6-8 quart pot underneath. Evaporator/Pan or Large Pot - Last year we invested in a StarCat wood-fired evaporator (the smallest one they make) from Smoky Lake Maple Products that has saved us lots of time! Before the StarCat we used a 10-gallon brewing pot on a propane burner which worked well but took 12-14 hours to boil down a 10-gallon batch plus the added expense of buying propane. Fuel – We used propane for several years but as prices and our sap collection volume increased, we decided to invest in a wood-fired evaporator since we have lots of hardwood available on our property. We now use wood to boil the sap until the volume gets too low for the evaporator. We then transfer the sap to a pot over the propane burner until it is just about done, then finish boiling it on the stove in our house. Reverse Osmosis System – Another improvement to increase efficiency is to invest in a reverse osmosis system to save time boiling the sap. Small backyard syrup producers can buy reverse osmosis systems that can concentrate sap from about 2% sugar to 4%. This might not seem like a huge difference, but it doubles the sugar concentration which should decrease the boiling time by half. If you have 100 gallons of 2% sugar the RO system can get it down to 50 gallons of 4% sugar. So instead of a 24-hour boil (or more), you might be able to get it done in a more reasonable 12-hour day. The wood-fired StarCat Evaporator (left and center) is much more efficient than our old method of using a 10-gallon brew pot on a propane burner (right). How to Tap Trees and Make Maple Syrup
ConclusionIf you get the chance to collect sap and make syrup or even help with someone else’s collection and boil, I highly recommend it. If you have any questions, please feel free to contact me. References
0 Comments
|
AuthorIn 2016, my family and I moved from the New York City area to small town Wisconsin. Our move, this website and blog (and our previous Etsy store) is the result of our desire over the past several years to simplify our lives, increase our quality of life, reconnect with nature, and enjoy a more self-sufficient life. I grew up as a country kid in central Pennsylvania working on my grandfather's fruit farm and as a corn "de-tassler" at a local seed farm. My background is in biology where my love of nature originated. I am a former research scientist and professor and have now transitioned to a part-time stay-at-home mom, self-employed tutor, and small business owner. Thank you for taking the time to check out my site. Archives
April 2024
Categories
All
|
 RSS Feed